This post is written to provide basic tips on rebuilding the F2 engine used in the B2200 and other cars using this block. Most of these tips are universal for all engines. On this page I will also try to include major mistakes people commonly make while doing engine rebuilds especially mistakes that could prove fatal to the engine.
Know what to do before you start!
Research before you start. I recommend a minimum of two sources of engine specific information, Haynes manual, Chilton’s, factory manual, this site, etc…. Also a third source for engine building in general if you’ve never rebuilt an engine before, preferably a reputable published book. Note that not all information in books or any other source is right or the best thing to do, a perfect example of this is the torque value of the lower timing sprocket gear in the Haynes manual that is off by a factor of 10 resulting in some people breaking crankshafts.
Keep it Clean
Cleanliness is everything!! Keep all parts and your work area clean and organized. If you do not have access to a garage or storage area that can be prepped for work, your kitchen is probably the best bet to do as much assembly as possible. Cover the engine with a clean trash bag when not working on it.
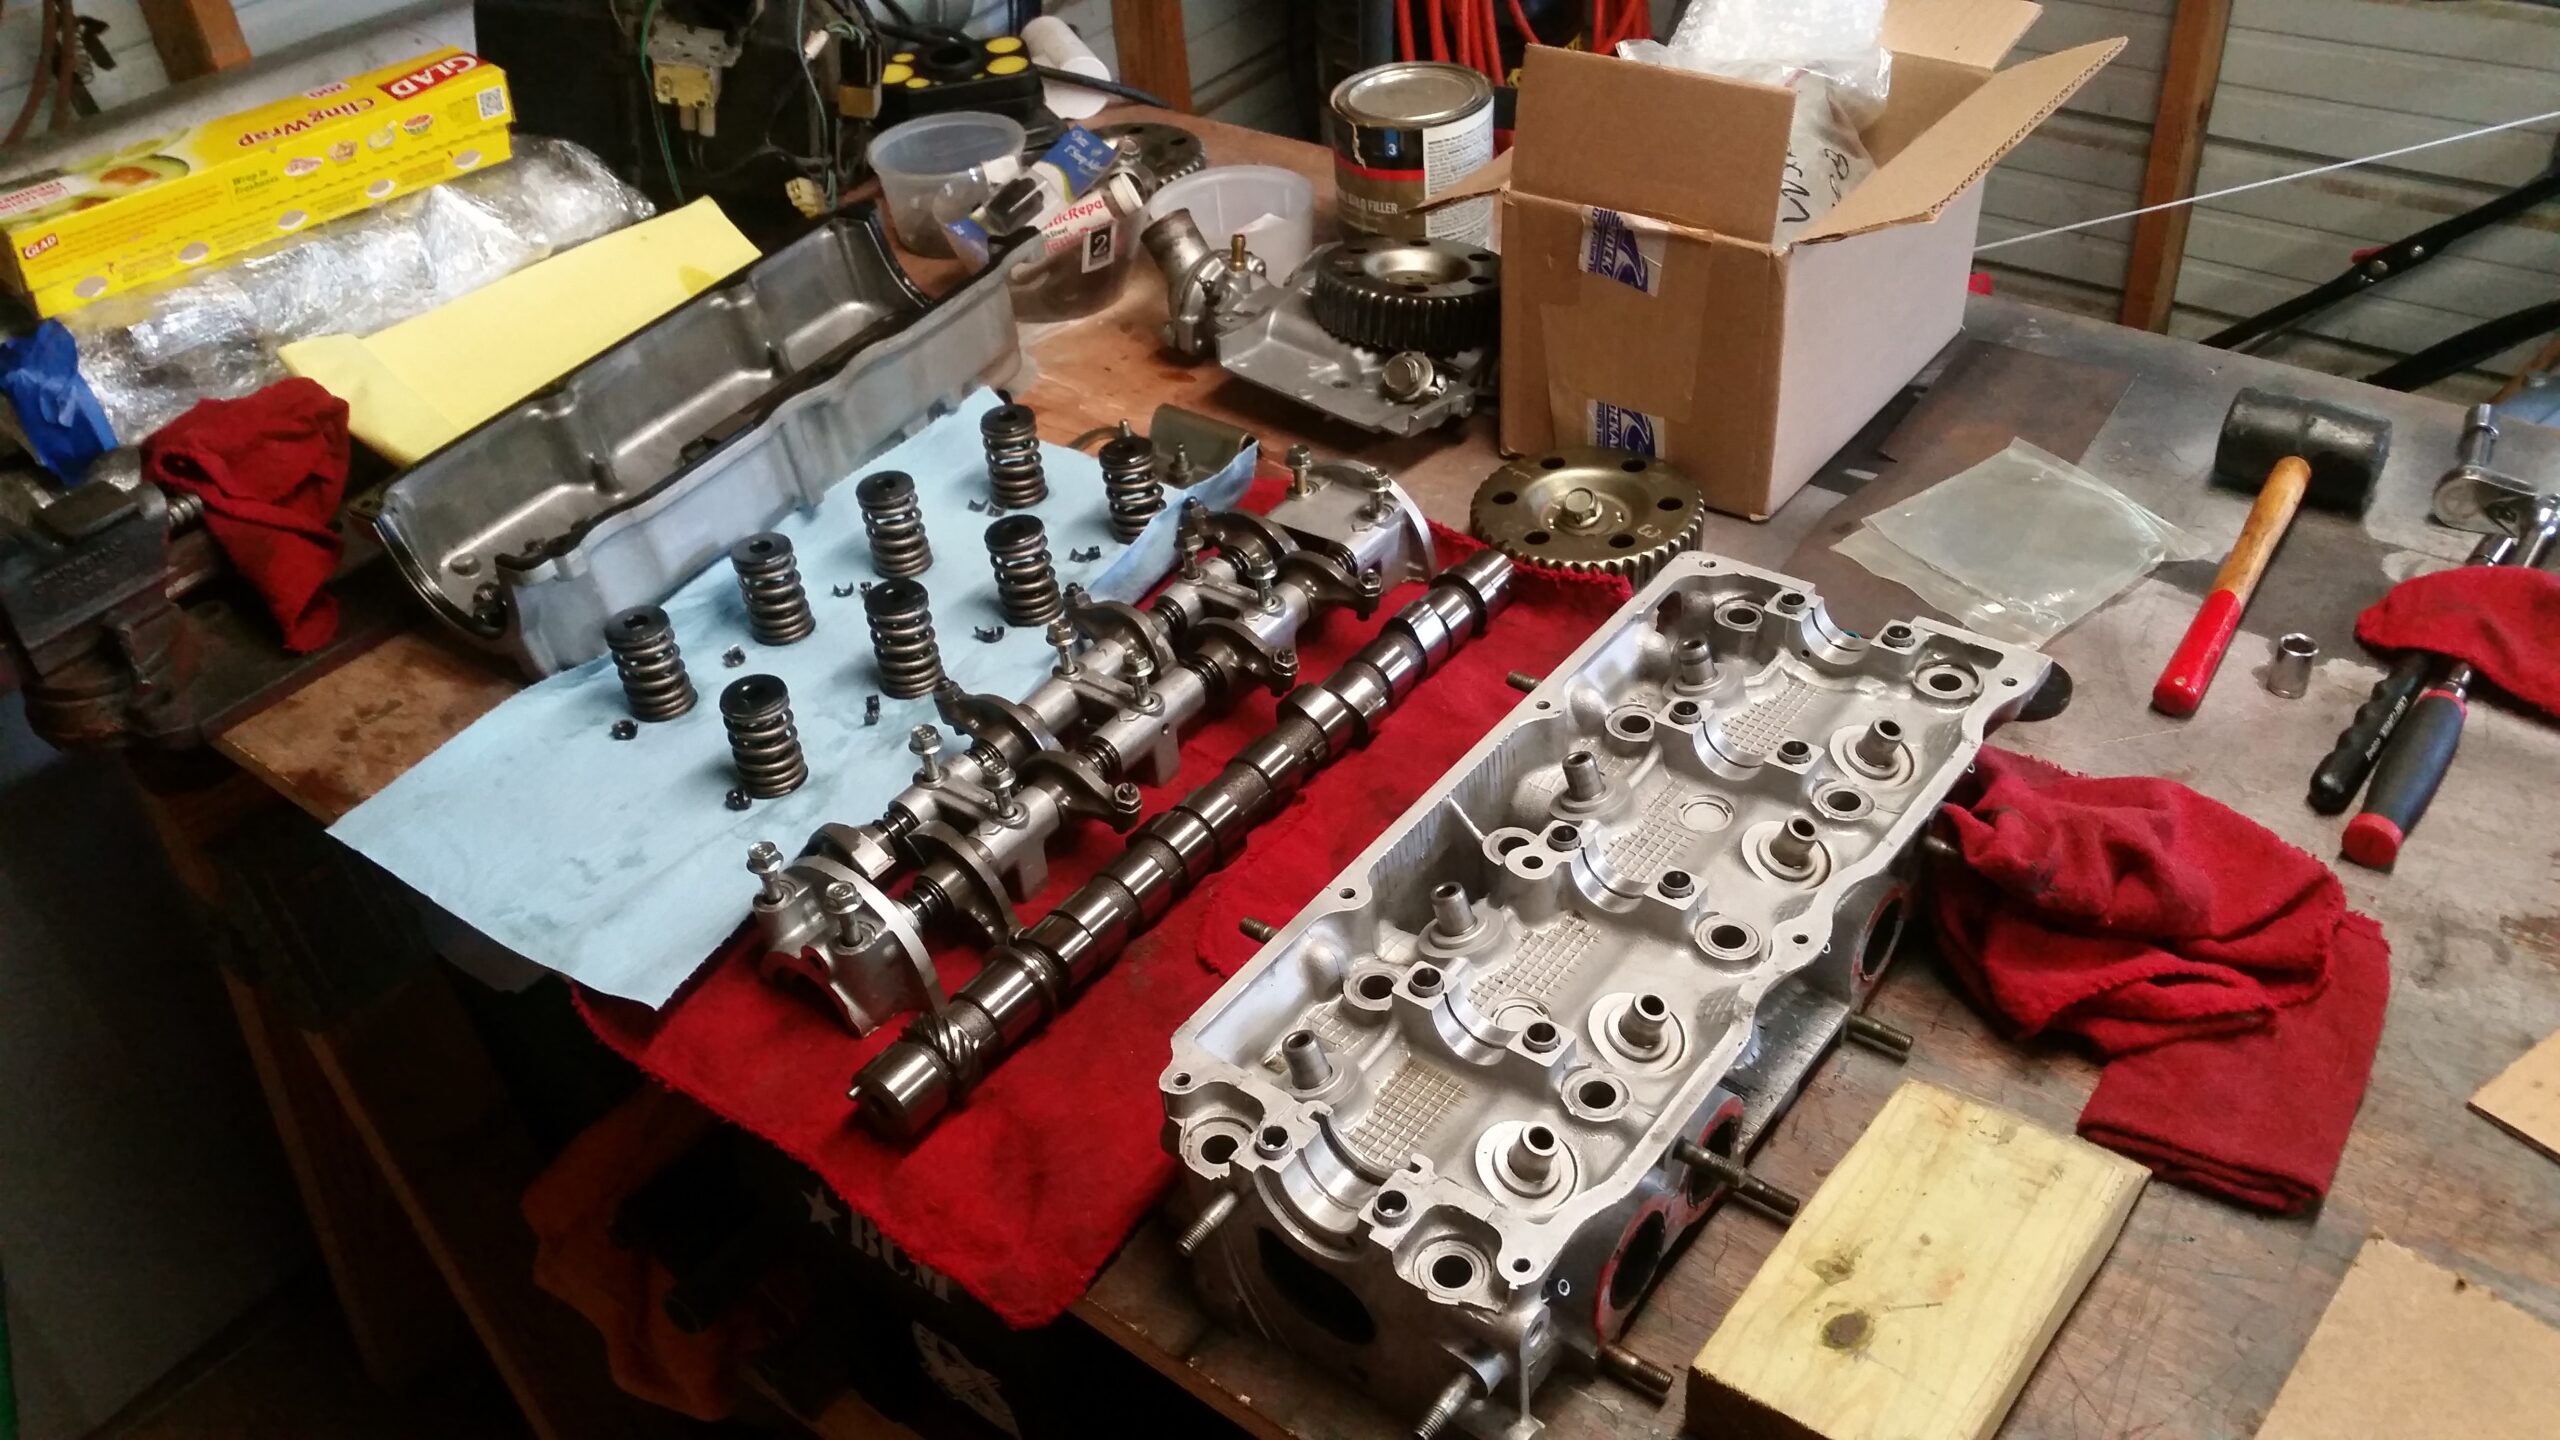
Label your Parts
Have a sharpie marker and lots of zip lock bags ready. Label bags before removing parts, clean and lightly oil parts before putting in bag. Also some sort of work cart with shelves is recommended to organize and store larger parts such as piston/connecting rod assemblies, oil pump, water pump, cylinder head, etc…. Keep the entire cart covered with a large clean trash bag when not in use or cover each shelf with a trash bag.
Remember how it came apart.
PAY ATTENTION TO BOLTS AS YOU REMOVE THEM!!!
Take Pictures!
It is very common for parts to have different length or size bolts used on the same part. Keep a notebook handy and draw a quick sketch of the bolt pattern layout, make sure to title the page with the part the bolts go to, add notes for the bolts and if there is anything wrong or missing you notice while disassembling. Mazda water pumps and oil pumps will sometimes have different length bolts used on the same part.
A picture is worth as much as you forget.
Everyone has a smartphone these days so TAKE FRIGGIN PICTURES!!!
Take lots of pictures especially of parts such as bearings, timing marks, distributor alignment, cam sprocket etc. Use white out to mark things that require alignment later such as distributor advance, cam sprocket alignment with dowel, etc… Later when you are reassembling using your reference material you can compare that to how it was disassembled. If you experience problems later you can reference back to the original setup to aid troubleshooting. Note that if the engine was not in running order before the rebuild that the original installation should be recorded but not trusted. Frequently people sell a truck because they needed to make a repair and could never get it running afterwards because something was missed or not installed properly, this is where having multiple references should help a little bit with getting the rebuild right.
New parts don’t always fit.
At a minimum acquire some cheap measuring equipment, you should have a 1″, 2″, and 4″ pair of micrometers, a set of dial calipers, and some T-gauges. These can be acquired cheaply from Harbor Freight and other places. Cheap equipment is far better than no equipment and taking even halfway accurate measurements can sometimes save you hundreds of dollars later.
You can’t assemble what you don’t have.
Mark parts with a sharpie, this is relatively permanent and will easily clean off before assembly. For example, mark on piston skirt the cylinder number, also mark on the connecting rods, bearing caps, etc… Also mark which way parts mated, if you flip a bearing cap around from what was machined when you assemble the engine it will be fatal to the engine within minutes of starting it the first time (if it will start or run at all).
Sand in your shorts? Engines don’t like it either!
Cast engine blocks always have trapped core sand in the metal, although usually not critical it can definitely prove beneficial to clean some of these areas to increase longevity. Look in corners and crevices for areas which look like sand might be trapped and grind them out with a Dremel or some other tool, remove as little metal as possible to remove the loose material. Also smooth out areas of casting flash, this removes stress risers and reduces the chances of something breaking off and getting into the oil. Your bearings, valve train, and oil pump will be thankful you took the time.
Skip the newbie mistakes.
MAKE SURE PISTON RINGS ARE STAGGERED BEFORE INSTALLING!!!
Just because it’s metal, doesn’t mean it’s not fragile.
Keep new engine bearings in their bags until they are ready to be measured and installed. When purchasing new bearings do not accept any package which has been opened in any way, even if the seller opens the plastic bag in front of you. Keep them air tight until you are ready to install them. Ask about return or exchange policies before purchasing, just because they are new DOESN’T mean that they are the right size or free of defects. DO NOT EVER TOUCH THE BACK SIDE OR FACE OF THE BEARING AT ANY TIME!!!!
Oil from your fingers will cause clearance and hot spot problems from dust sticking or allow the bearing to slip causing failure.
Give it a twist.
After installing each main or rod cap turn the crank at least one turn to make sure everything is ok. If there is a problem with the cap, dirt in the bearing, bearing not seated properly, etc. It is likely the crank won’t turn or will be difficult to turn. A simple turn after installing each cap will indicate immediately when you have a problem before you waste time building the rest of the engine or worse spin a bearing the first time you start it.
Remember to be CLEAN!
Clean almost all metal parts with paint thinner or acetone before installation, then oil or lube as necessary. Parts must have no residue on them after they are cleaned. Solvent can be used for an initial cleaning on the cylinder bores but it should never be used on cylinder walls for final cleaning.
Glaze isn’t sweet
After engine block has been completely machined clean with HOT SOAPY WATER!! NO SOLVENTS such as paint thinner, acetone, brake clean, etc… Solvents leave residue on the metal that will cause the cylinders to glaze when the engine is started. The result is rings that will not seat, have blow-by, and leak oil for the life of the engine. Use tide, dawn, Palmolive, etc.. to clean the block, then immediately dry with compressed air and wipe down with LINT FREE CLOTH then oil cylinders with engine oil.
Cast iron blocks will rust within minutes of contact with water so time is crucial.
Leave a Reply