Note: Not the best write up with pictures. Better version with video coming soon.
Tools Needed:
- Safety Glasses
- 17mm wrench
- 17mm socket
- 3/8” or 1⁄2” ratchet
- Long Breaker bar
- Grease
- Penetrating fluid
- Jack and Jack stands
- Rag or something to clean the splines off
- Hammer
- Paint Pen or Scribe to mark splines
- Mechanic gloves
- Flashlight Or Head lamp
- Power tools
I WILL NOT BE HELD RESPONSIBLE FOR ANY DAMAGE OR MISTAKES.
Step One
Loosen the lug nuts on your wheels.
Jack up the truck, and put the jack stands on the frame rails.
I put mine right behind the front cab mount.
This allows the suspension to have less tension on it.
Take off your wheels to allow easier access.
Step Two
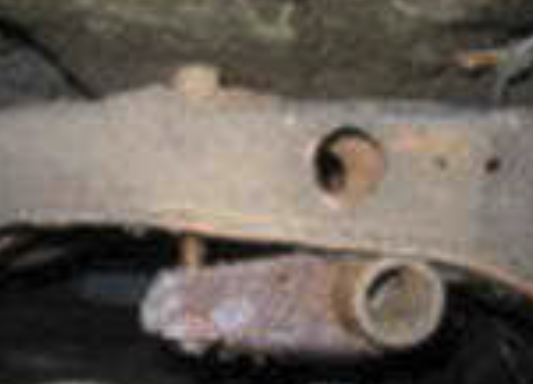
Under the center of the cab, you will see a long rod running front to back.
that is your torsion bar.
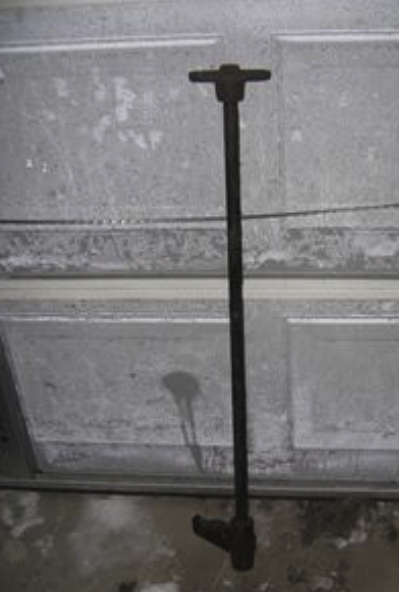
At the end of the bar, there is a hook with a bolt going vertical.
This is the bolt we want to loosen.
Spray some penetrating fluid on the threads and bolt.
Let it sit for a bit if rusted.
Grab your 17mm socket and breaker bar, and crack the bolt loose.
Then use your ratchet and take out the bolt.
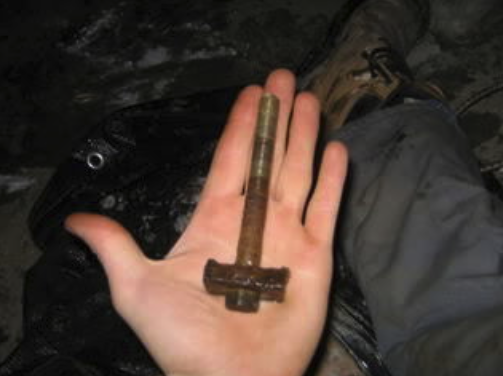
This bolt holds the tension on your torsion bar.
The bolt is about 4 inches long.
So you will loosen this bolt until you it comes out.
The more you turn it the easier it will get because it taking the tension off
the torsion bar.
Step Three
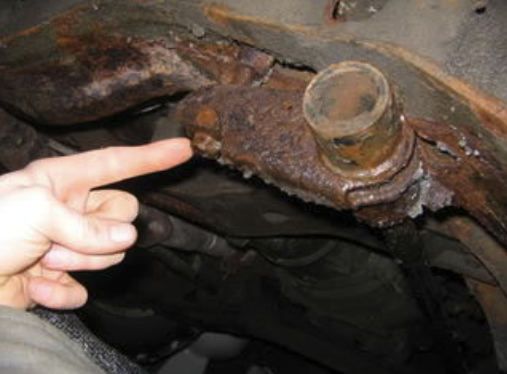
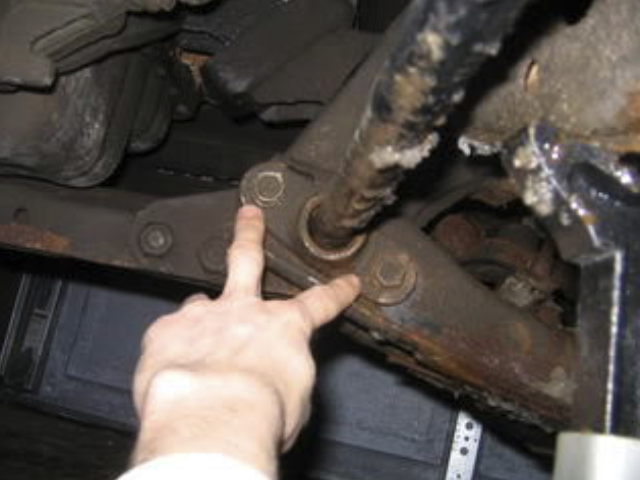
After removing the bolt, follow the torsion bar to the front of the vehicle.
You will see a bracket with 2 bolts going through the lower control arm.
Use your 17mm socket, and breaker bar to crack the two bolts.
Use your ratchet and 17mm socket to take the bolt out.
Step Four
Both my sides were as easy as a simple pull and the torsion bar came out.
Step Five
DONT! DONT! DONT!
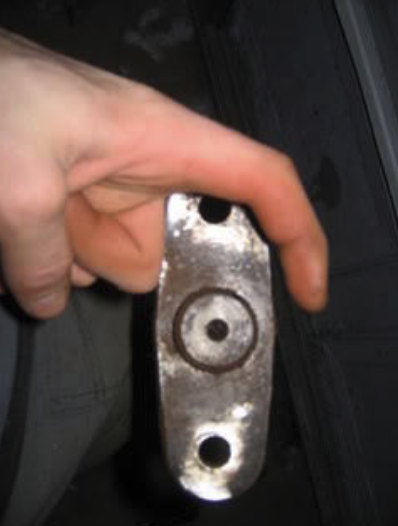
Take the bracket off the spline.
Hold it in place.
Clean the side of the bracket that was against the lower control arm and
the end of the spline.
Next mark with a white out a straight line of 1 tooth and groove.
Step Six
Knock off the bracket with a hammer.
Step Seven
When doing this STAY AWAY FROM YOUR MARKING!
I may suggest you use a scribe and scratch a line into the metal.
Step Eight
For the DRIVERS SIDE, turn the torsion bar COUNTERCLOCKWISE only
one or two splines.
Three splines and you will be tucking tire for sure.
One spline will give you generally a two-inch drop.
Just take them out and replace the larger bump stop on the lower control
arm. PASSENGER SIDE gets turned CLOCKWISE.
Step Nine
The hard work is done. Now its time to reassemble everything.
Put the adjusting bolt in and threaded it in a couple times, then hook the
bracket on. Then I went to the front and put the 2 bolts in the front of the torsion bar. I hooked the back first to make it easier to align the front bolts without trying to hold the whole torsion bar up.
Step Ten
Tighten the 17mm bolts with your ratchet and wrench.
Step Eleven
Tighten the rear bolt up with your 17mm socket and ratchet.
I tightened mine until I could see about 3⁄4” between the nut and the
bracket.
Step Twelve
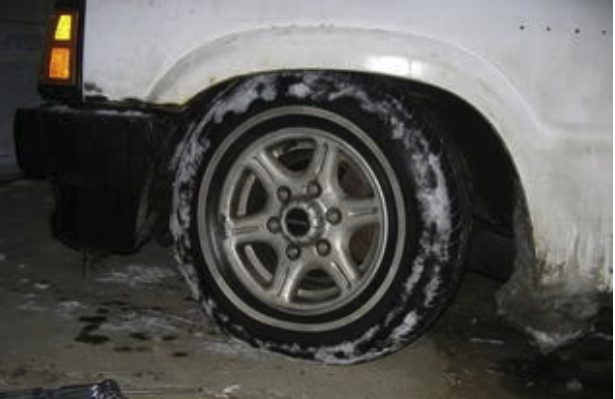
Put your rims back on and hand tighten the nuts, jack up the truck, take
your stands out and see how low you got it!
Note:
If you re-index 2 or more splines, I would recommend some lowering
shocks from either s10, Nissan d21 hardbody or Isuzu pup.
Whatever is easiest to find.
Leave a Reply