Written By Cusser – Slight edits by MazdaMitch
There may come a time when you need to rebuild your distributor to replace some seals, replace the ignition control module, and other parts. This document should help you out. To see a video on how to to replace the ignition control module click here.
From the Workshop Manual.
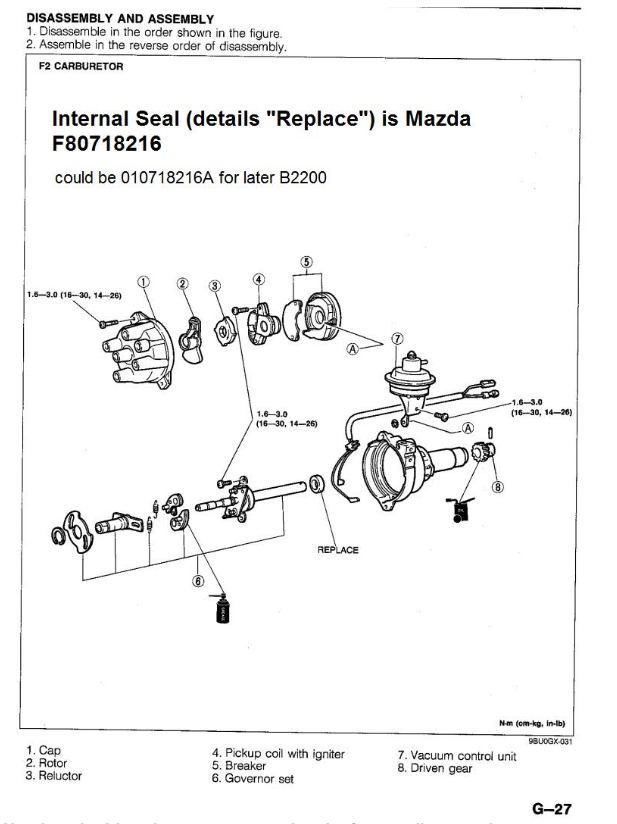
Numbers in this write-up correspond to the factory diagram above
- Take off distributor cap.
- Rotate engine to TDC #1; distributor rotor will point to just past 9 o’clock position.
- Remove wires from the coil terminals; blue goes to coil negative terminals, others to positive.
- Mark position of the distributor body/distributor retaining bolt with paint pen (or you’ll need to check/set timing afterwards)
- Remove distributor rotor #2 and plastic cover (not shown in diagram)
- Mark the position of the gear #8
- Support the distributor shaft on a block of wood and use a punch and hammer to tap out the roll pin from #8; do not lose the roll pin
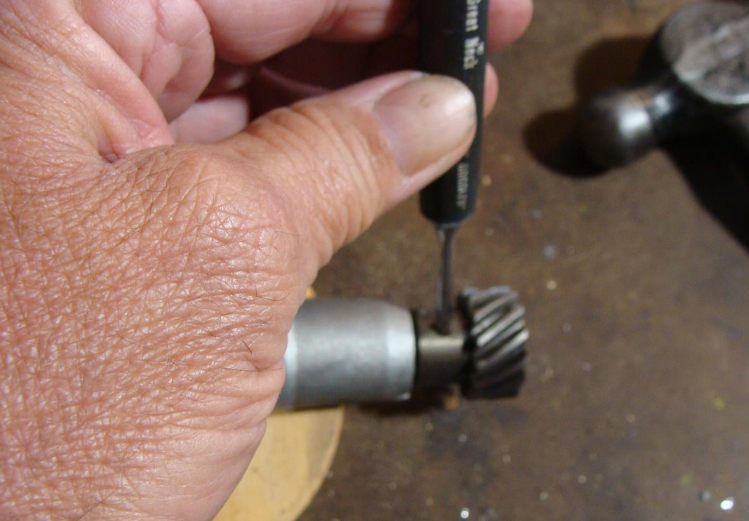
- Pull off gear #8
- Pull off the 2 wires from #4, note their position; loosen the screw for mounting the capacitor wire to the distributor base by the adjustment slot, and remove the wires.
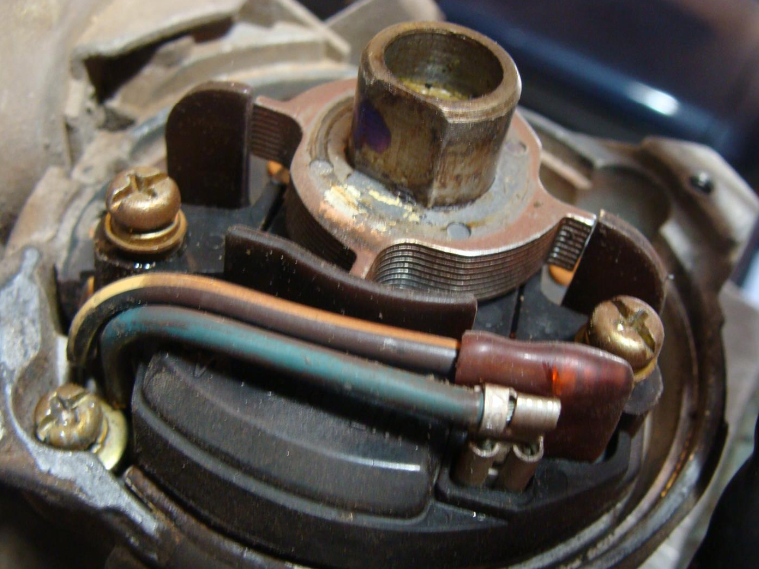
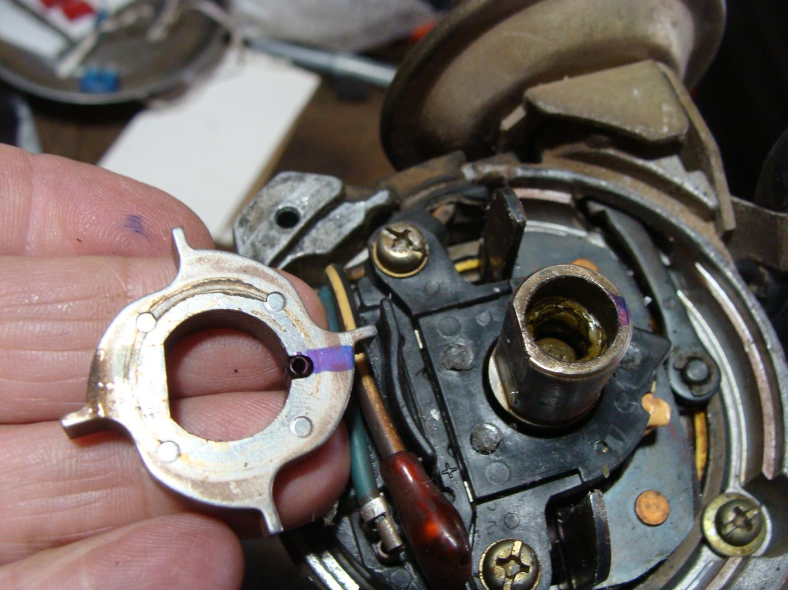
- Write “TOP” on top of the reluctor #3.
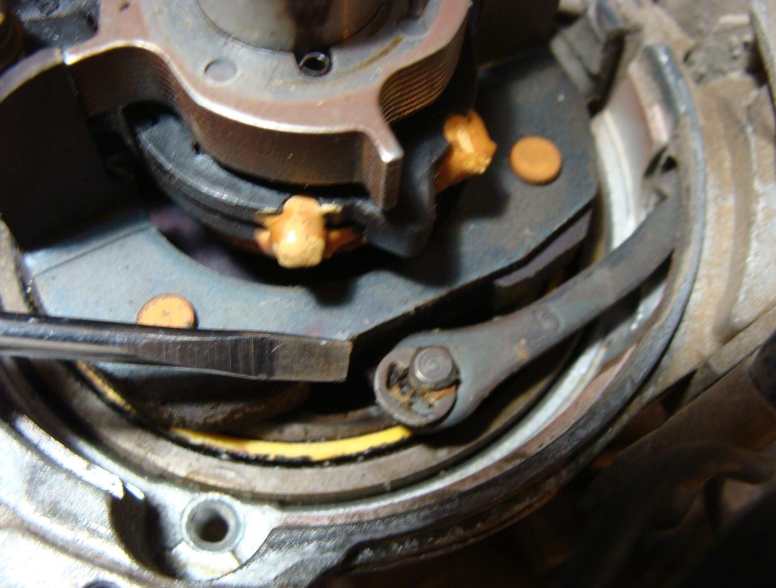
- Pry up the #3 using a big screwdriver levered on a screw holding down #4 (or use 2 screwdrivers); and you might need to use a battery terminal puller.
- Be careful not to lose the small roll pin.
- Don’t worry if the reluctor “leaves” separate at this time, just keep in order.
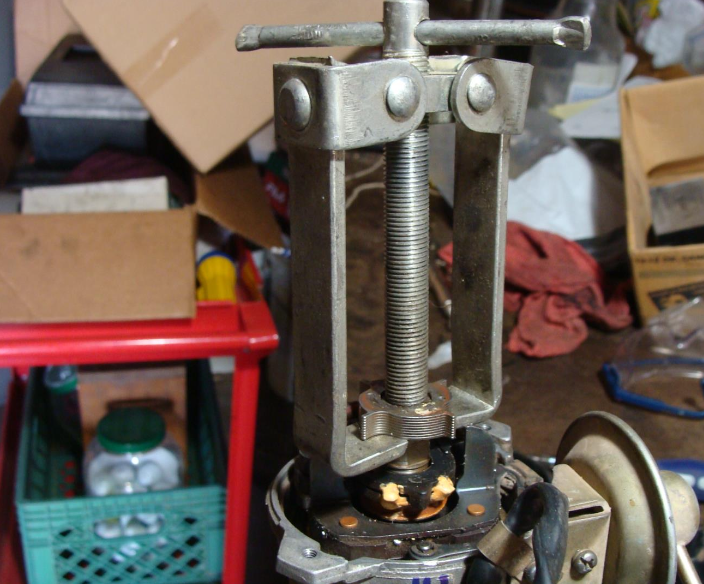
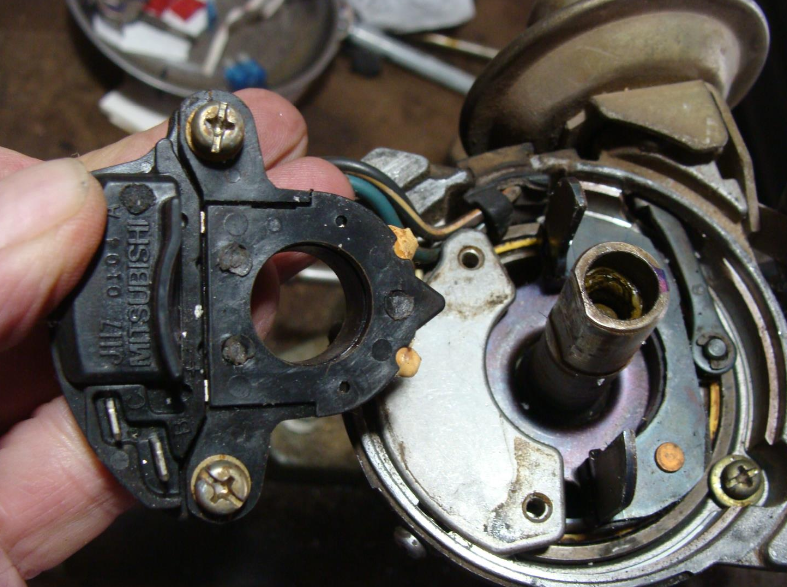
- Remove 2 screws and pull off the pickup and ignitor off as a unit.
- Remove the tiny E-clip holding the vacuum advance lever in place, and do not lose.
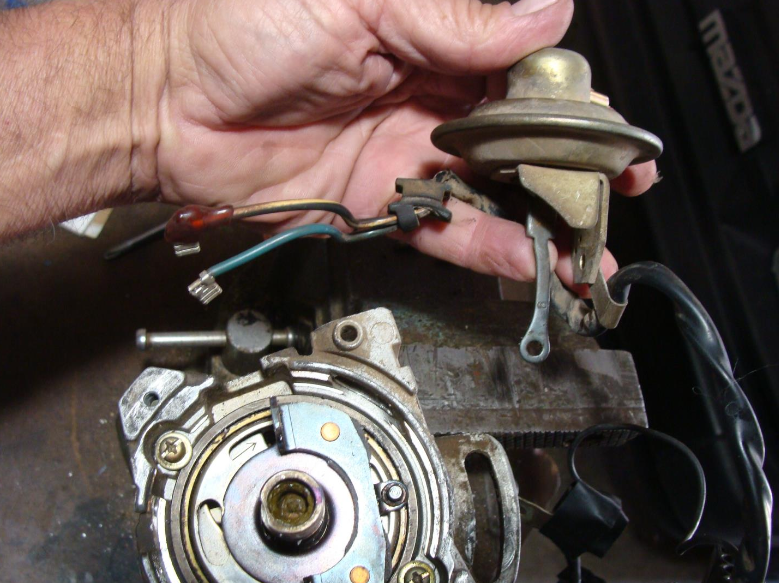
- Remove the 2 screws holding the vacuum advance can #7 in place, then remove the vacuum advance can.
- Remove 2 screws holding the aluminum plate over the breaker #5, and remove that plate.
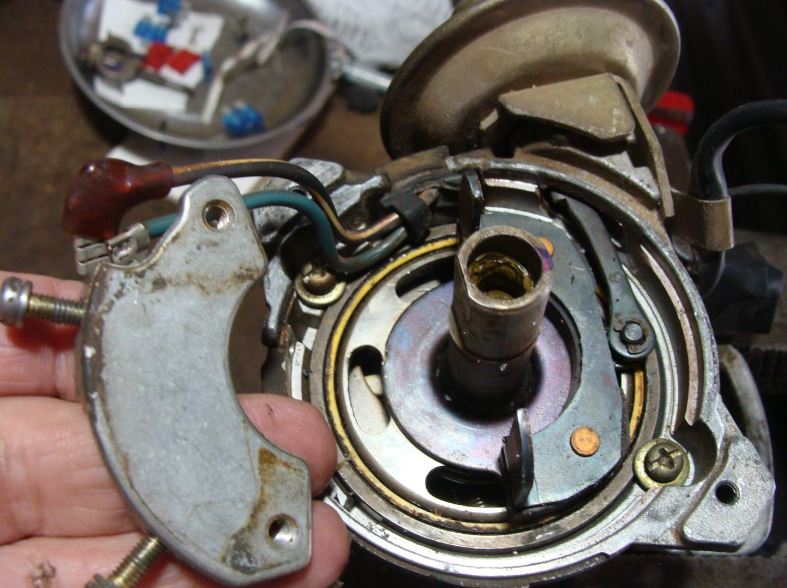
- Remove 2 screws and remove the breaker; note that it has tiny bearings on its underside which may need cleaning and greasing.
- Once this is removed the 2 screws holding #6 vacuum control unit will be visible.
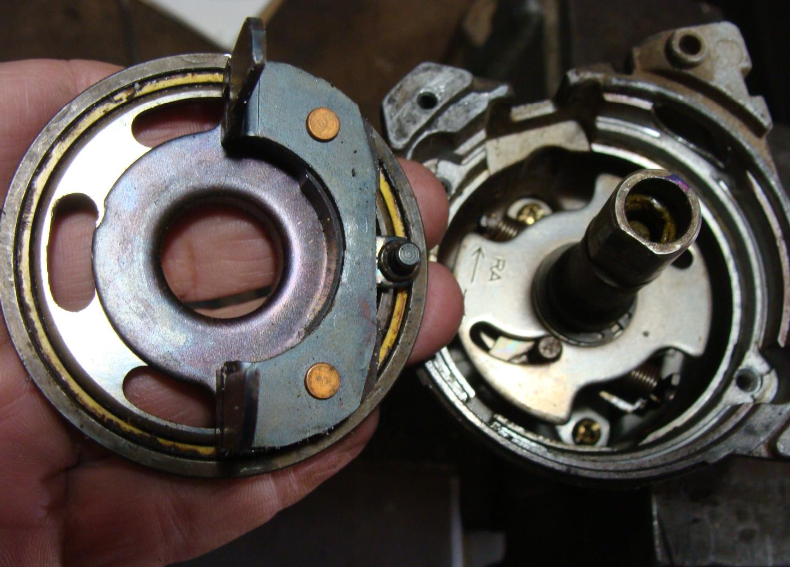
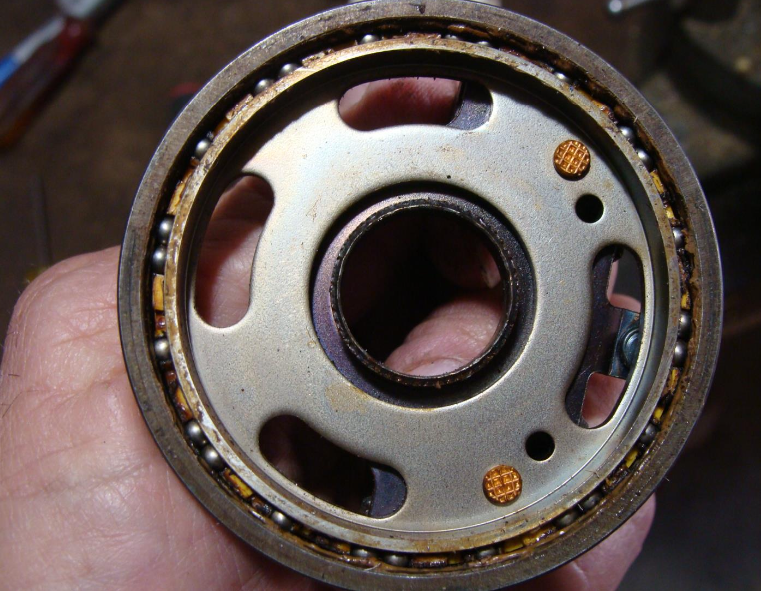
- Remove the 2 screws that hold #6 in place.
- Tap the bottom shaft to remove #6 from the distributor body Remove internal oil seal.
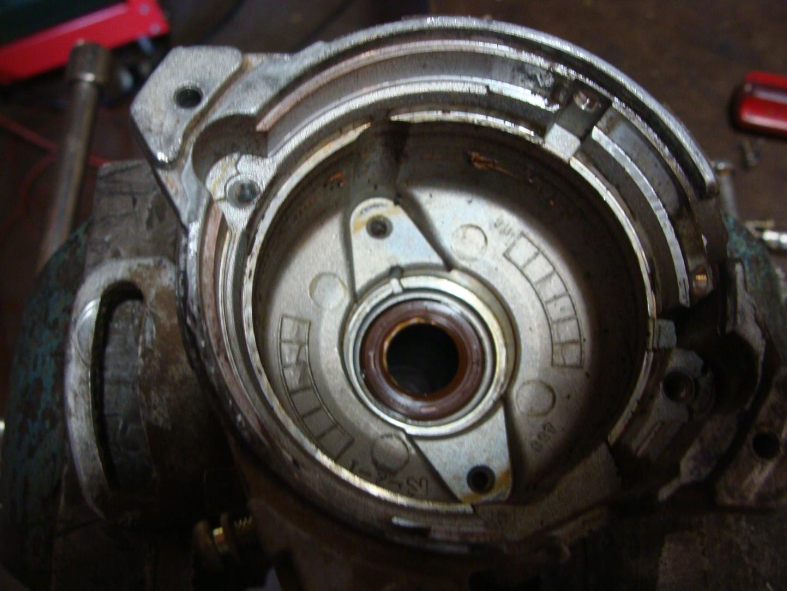
- Tap replacement oil seal into place, and you can use thin coat of Permatex Aviation on the outer surface of the seal Grease inner surface of the internal seal.
- Oil the shaft of #6 and insert through the new internal oil seal.
- Re-assemble in reverse of disassembly.
- I used a 15mm deep socket to tap the reluctor back down, then inserted the tiny roll pin.
- Use a new external shaft O-ring if necessary making sure to install distributor properly. This means lining up the distributor rotor at about the 10:30 position so it will turn as you insert it to again line up just over the 9 o’clock position.

Leave a Reply