Tools you will need
- 3/8ths ratchet
- 10mm socket (for all bolts)
- Philips head screw driver
- 6 inch socket extension
- Panel clip tool
- 10mm open end box wrench
- 18mm open end box wrench
- 18 inch breaker bar
- 21mm socket
- Knife
- Small flat blade screw driver
- Socket u-joint
- Electric Screwdriver
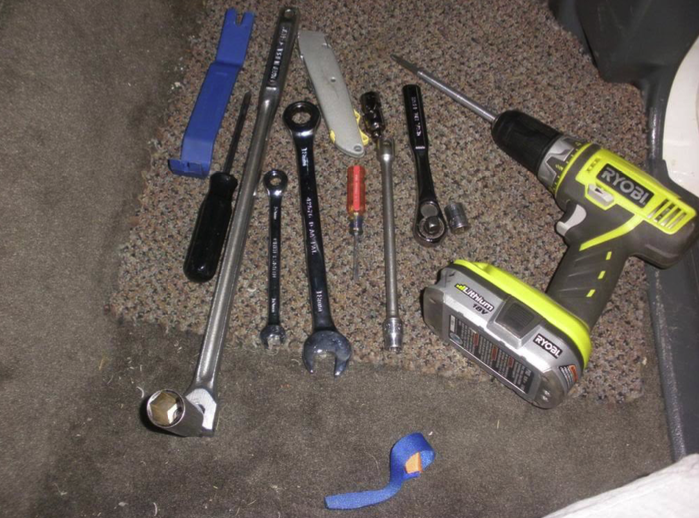
If you use one of these make sure to turn down the clutch, if equipped. That way you won’t strip any screw heads or damage any parts.

- Disconnect the negative battery cable.
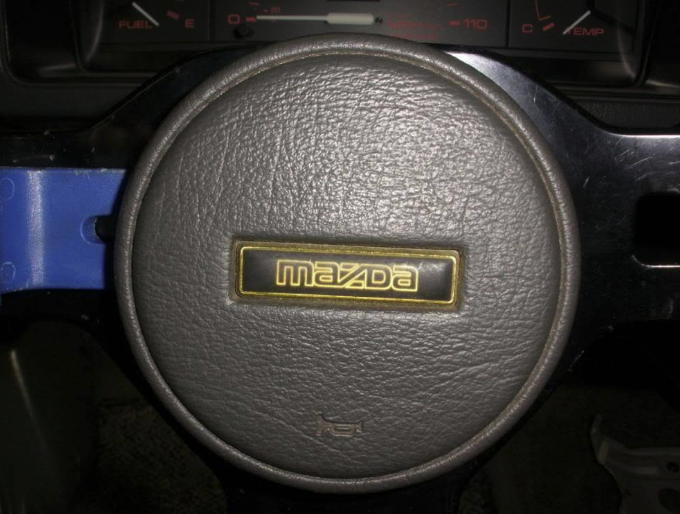
- Remove the steering wheel. If you have a three spoke metal wheel remove the center cap by using a panel clip tool. If you have the stock two-spoke wheel remove the three screws on the back of the cover and remove.
- Use a 21mm or 13/16ths deep socket and a breaker bar to loosen the steering wheel nut.
- Leave the nut on the last few threads so you don’t hit yourself in the face with the wheel when it comes loose. I usually hit the wheel on all four sides from the dash side to loosen it then pull toward me while wiggling right to left.
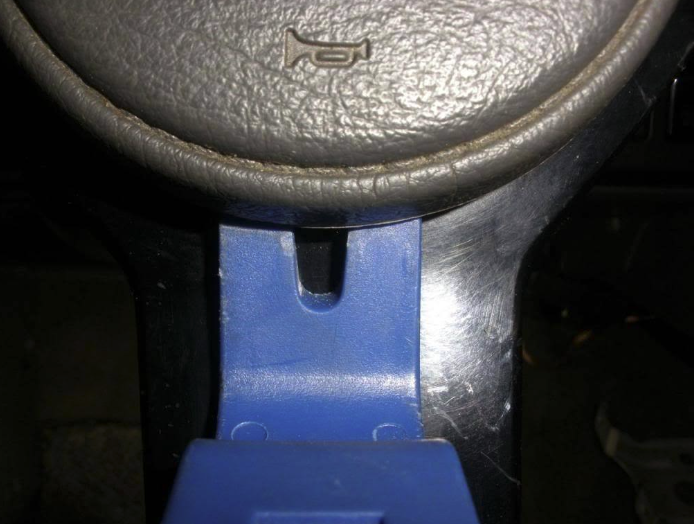
- I have the three spoke metal wheel. Pry up on the very edge to loosen the cover. Work your way around the cover to avoid ripping or tearing it. Use the metal portion of the wheel as the fulcrum.
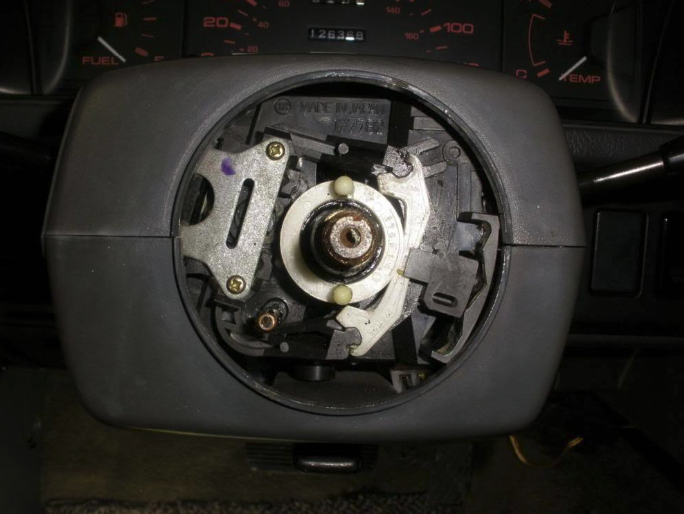
With the cover off… and nut removed.
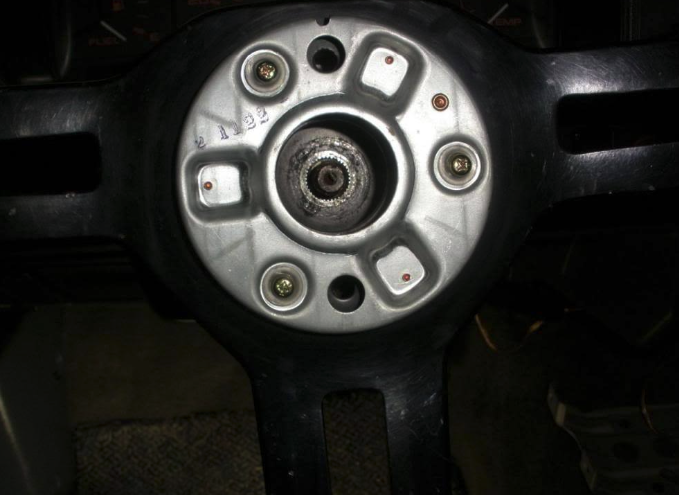
With the steering wheel removed.
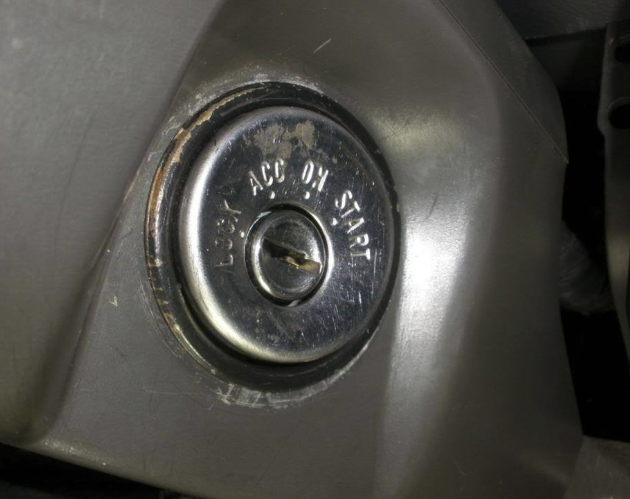
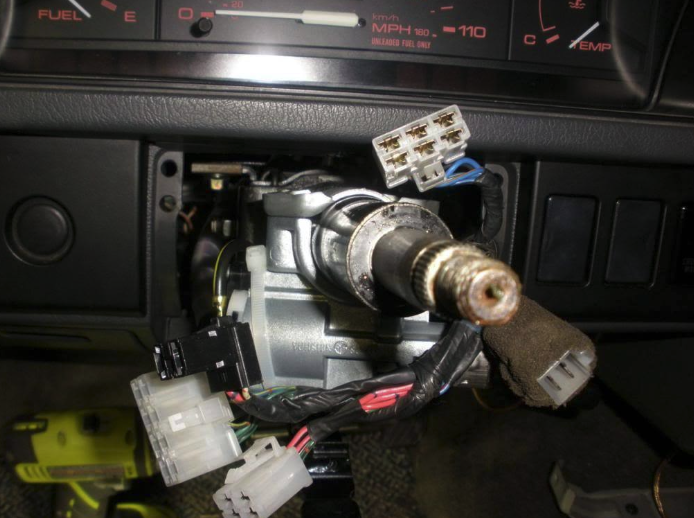
- Remove the steering column cover.
- Remove the ignition ring.
- There are up to 5 Philips screws holding this on from the bottom. To separate the halves, you need to have all screws removed.
- Carefully press the lower half cover to unsnap the inner clips. I usually
- start on one of the front corners.
- If you have tilt steering pull the lock lever down to give you room.
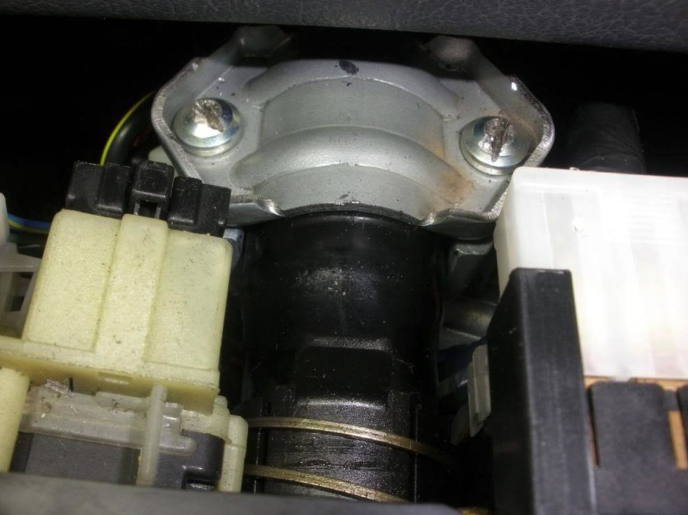
- Remove the Multi-function switch. Loosen the screw on the bottom of the switch.
- Next grab the clip on the top between the arms (on the back side) and pull toward you. This disengages the holding pin. Pull toward you gently then disconnect the 4 or 5 electrical connections. You’ll have five if you have Cruise Control.
The clip is in the center here.
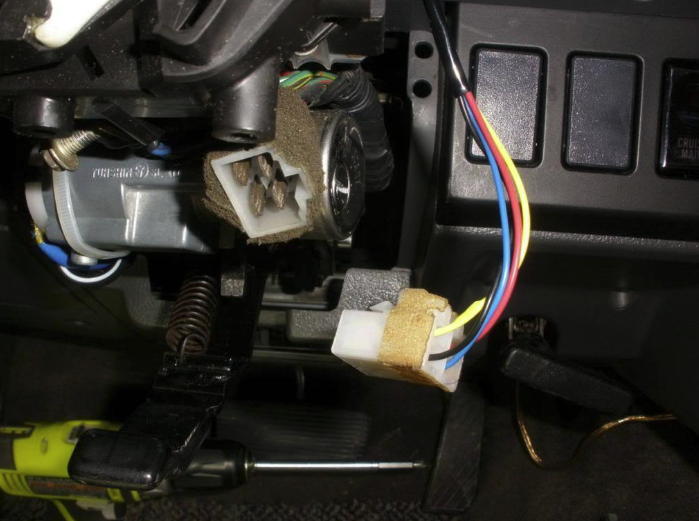
You may have to use a Dremel or something small to grind slots into these screws to be able to use a screw driver and remove this bracket.
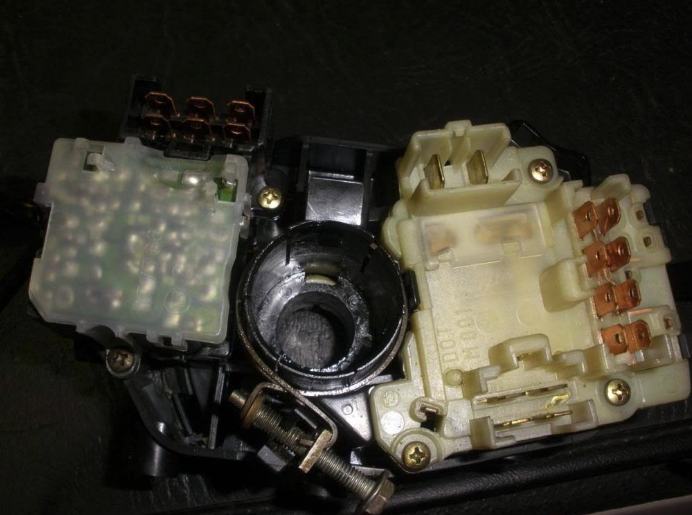
The back of my multi-switch.
These can be different by model (B2200 vs B2600).
- Remove the center console. This will be the same for an automatic and five-speed – usually four screws.
- Remove the radio housing. This will vary, depending on what is installed. It can be pulled out as a unit by removing four Philips screws.
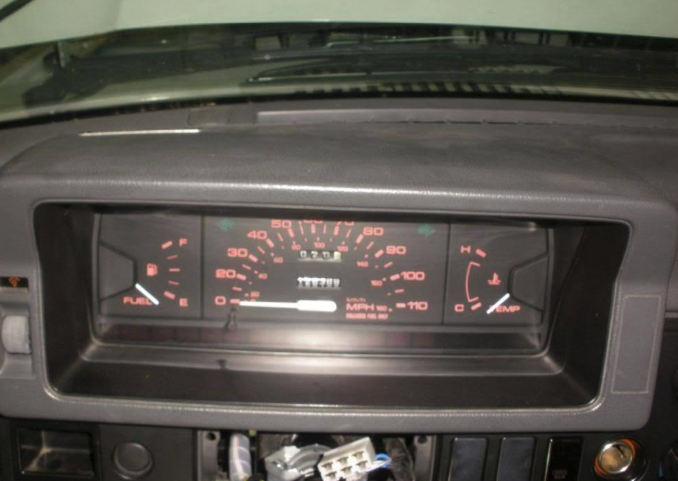
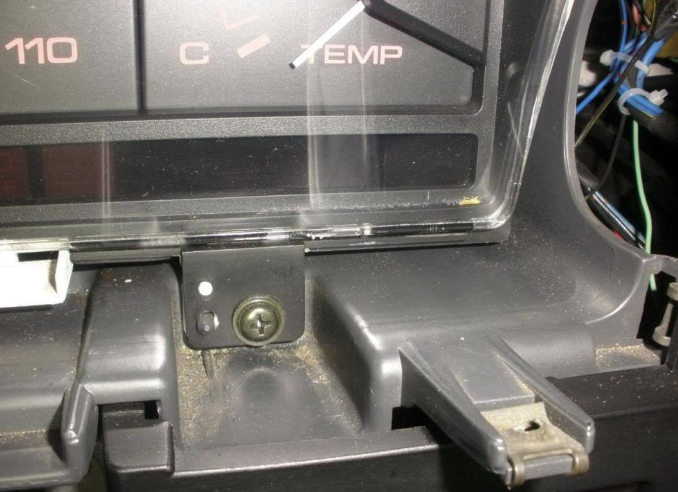
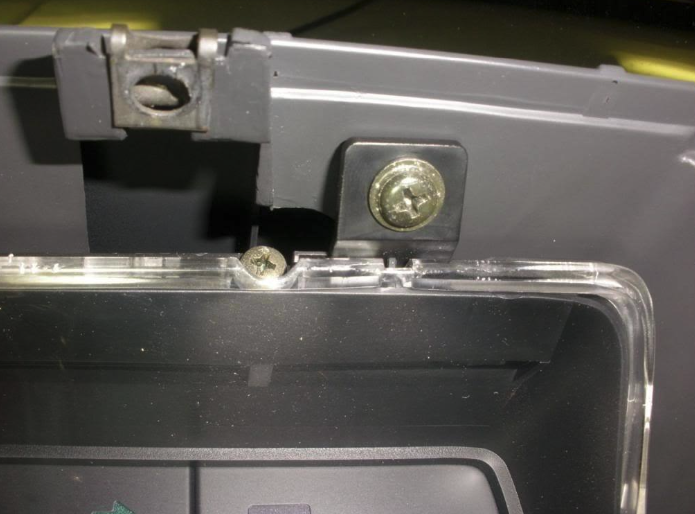
- Remove instrument cluster bezel. Remove the four Philips screws and gently pull the bezel toward you.
- Disconnect the dimmer switch connector. These screws are NOT the
- same as all the others, they have a flat head.
Two screws under the top lip of this.
Two screws under the bottom.
- Unplug the dimmer switch.
- Release the speedometer cable from the clip on the driver’s fender well. This will get you some needed cable length to remove the cable from the instrument cluster.
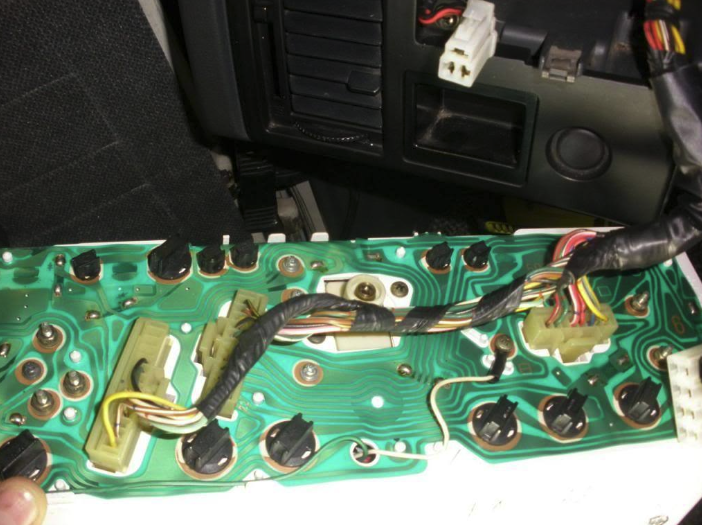
- Remove the instrument cluster.
- Remove the four Philips screws and pull toward you gently.
- Disconnect the three or four wired connectors – depends on which cluster
- installed.
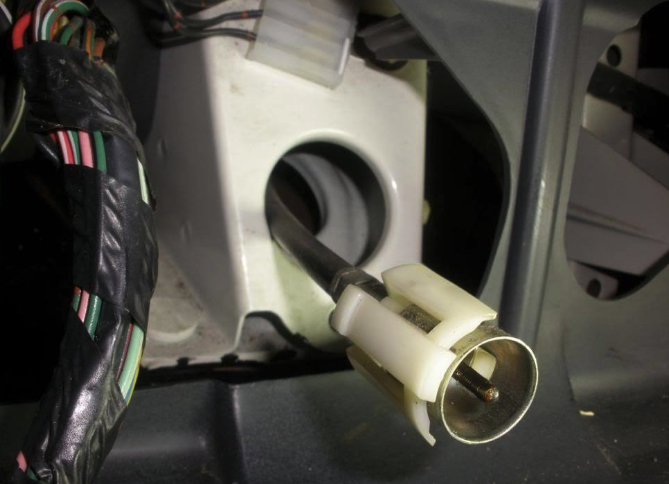
- Squeeze the speedometer cable clips and remove gently – after I release the
- screws, I push the cable from the engine compartment to get more length then reach around the back and squeeze the clip to release.
- Push the wires back into the dash to avoid getting them bought when removing the dash.
- Remove the one 10 mm bolt on the back-right hand side of the cluster opening.
Two bottom screws and two top screws…
The disconnected speedo cable… see the long white clips, that is what you need to squeeze to release it.
Push the wires and speedo cable back into the dash to avoid getting hung up during the dash assembly removal.
Don’t forget this 10mm behind the instrument cluster.
- Remove the glove compartment.
- Do not remove the two smaller Philips screws holding the guide rails.
- Be sure to remove the closer.
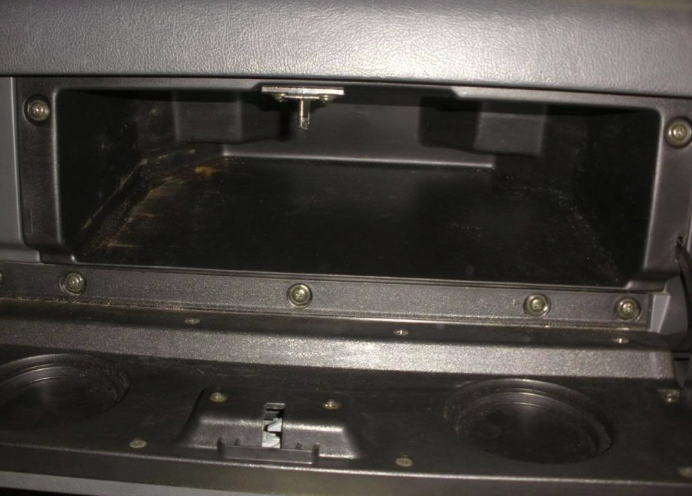
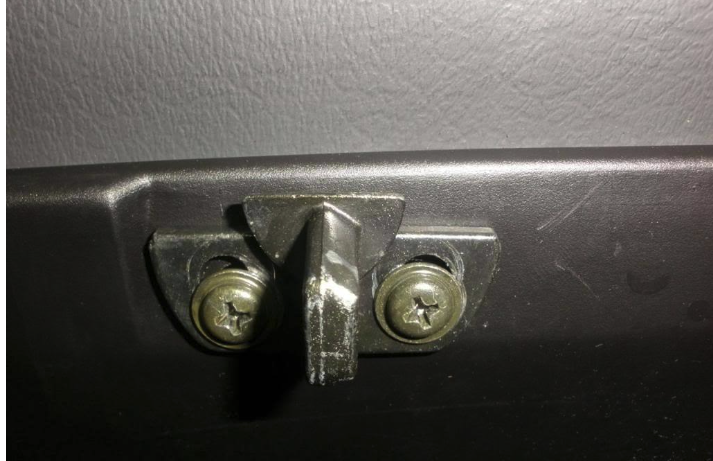
No need to remove these little screws, just lift the front edge of the glove box door and pull toward you. This will “unhook” the guide rails.
Removing the glove box opens access to the interior of the dash inner workings.
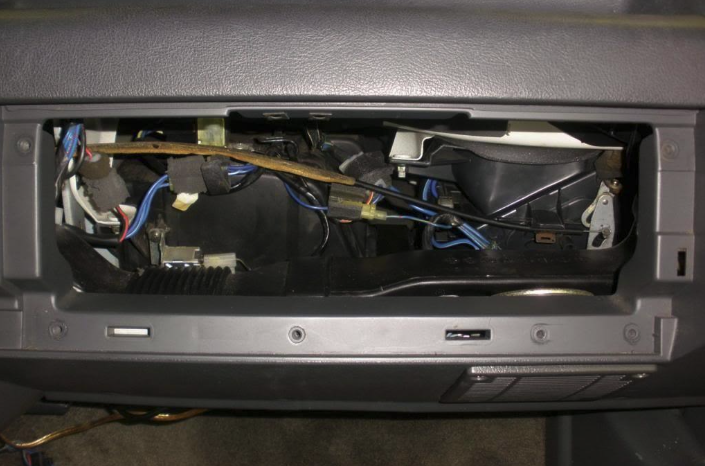
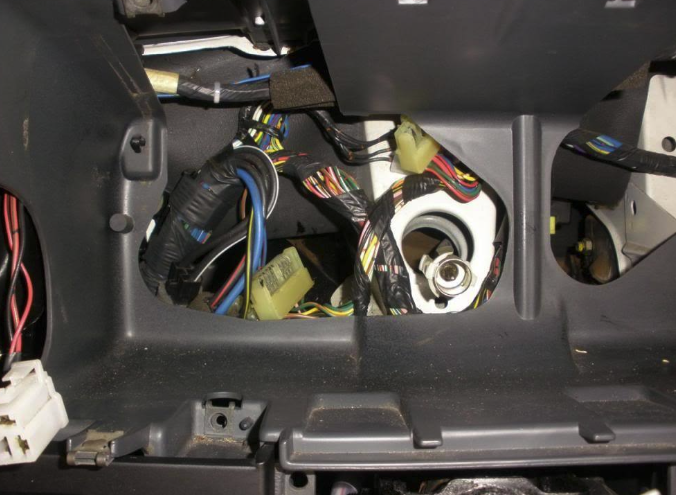
Now that the innards are exposed…
Unclip the fresh air vent cable and remove the cable from fresh air flapper rod.
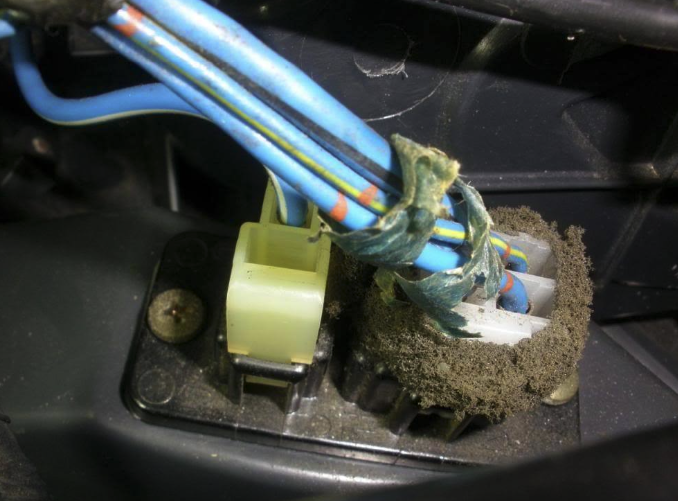
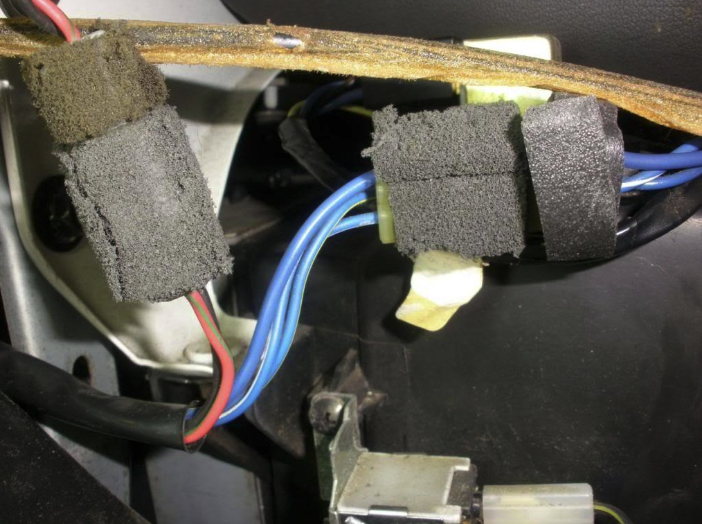
Disconnect the larger heater resistor connection.
This is on top of the blower housing behind the air vent tube.
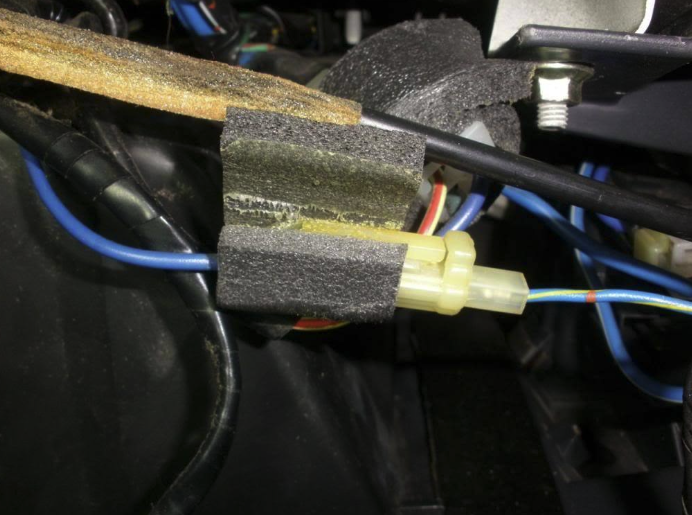
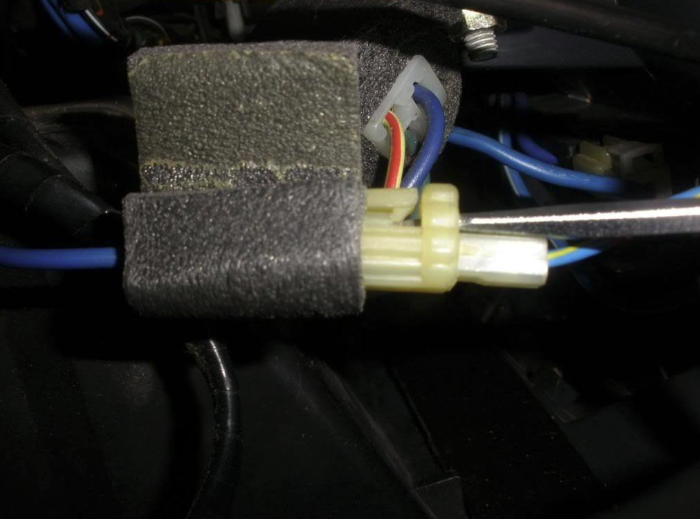
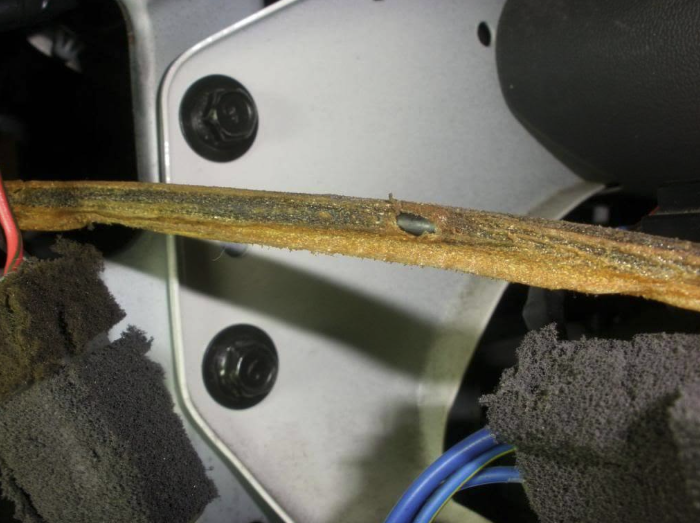
- Disconnect the larger A/C connection if present.
- The one on the right. There is no need to do anything else but disconnect the larger clips. These two connections will come from the left side and be in a black soft tube/sleeve.
Remove one or two 10 mm bolts on the left-hand side support bar. I’ve seen trucks with one and two. Mine had one, I added the second.
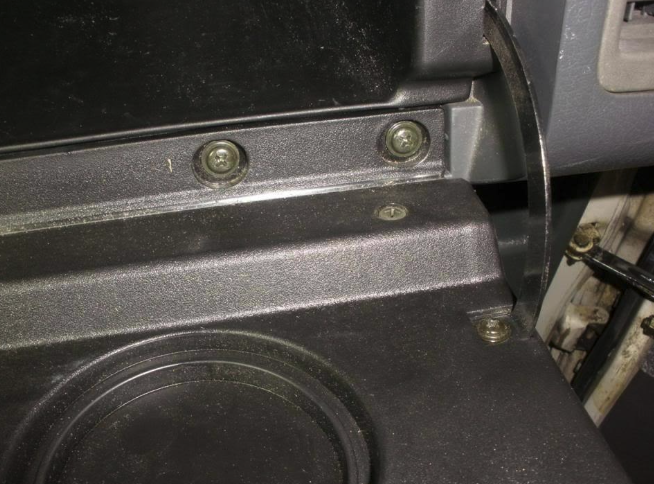
- Remove the two lower 10mm bolts behind the radio housing.
- I use the threaded hole that is open for my radio support mount.
- I use the lighter bolt for the radio ground.

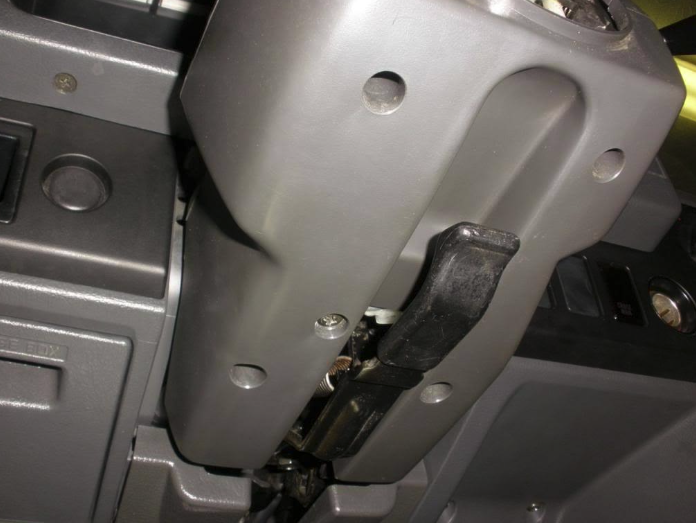
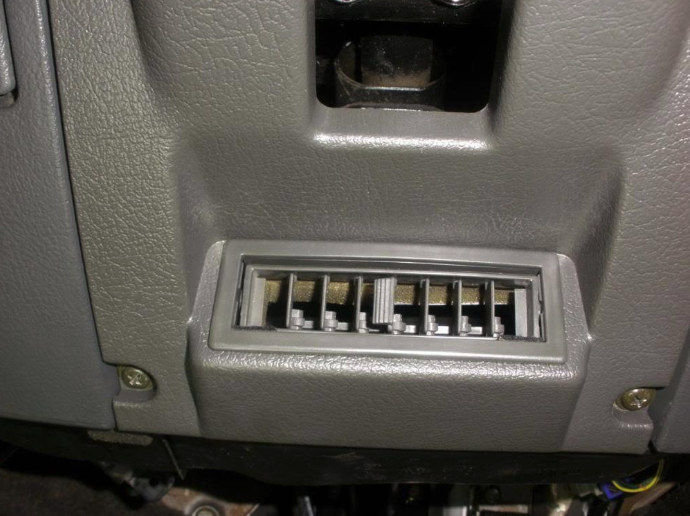
Remove the lower vent cover under the steering column. Two Philips crews. Pull up and toward you to release the two clips.
- Remove the bracket and air vent tube exposed by removing the cover above cover – remove the two 10mm bolts first. This might take a little man handling and manipulation to get them out.
- Pull down on the right-hand side of the small vent tube piece. At the same time work the metal bracket off the stud. After the right side is loose pull to the right and release from the left-hand stud at the same time. It is possible to remove the Philips screw, but it’s not needed.
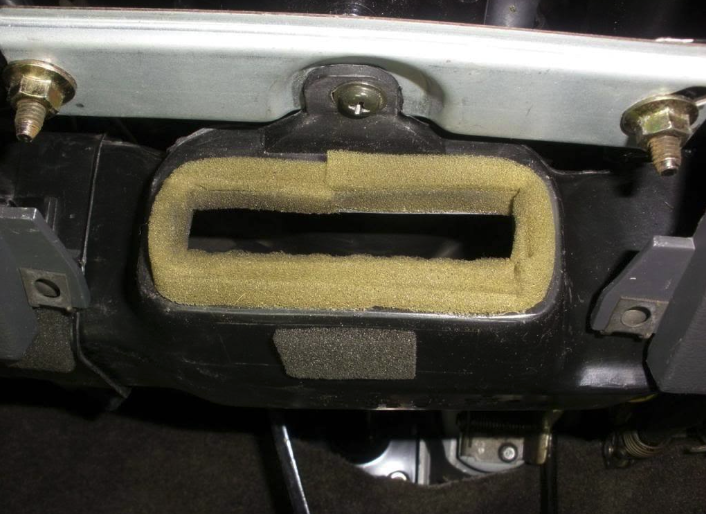
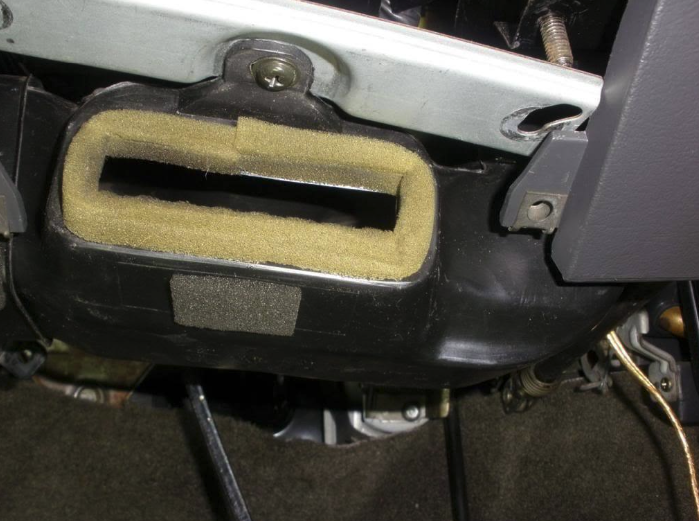
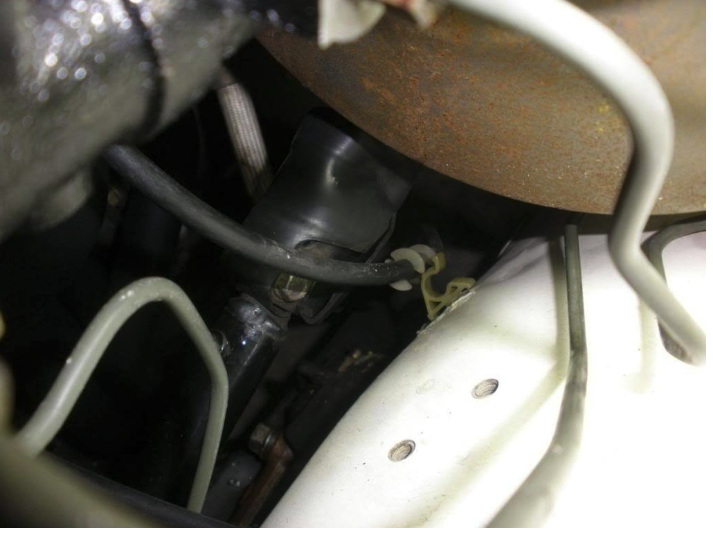
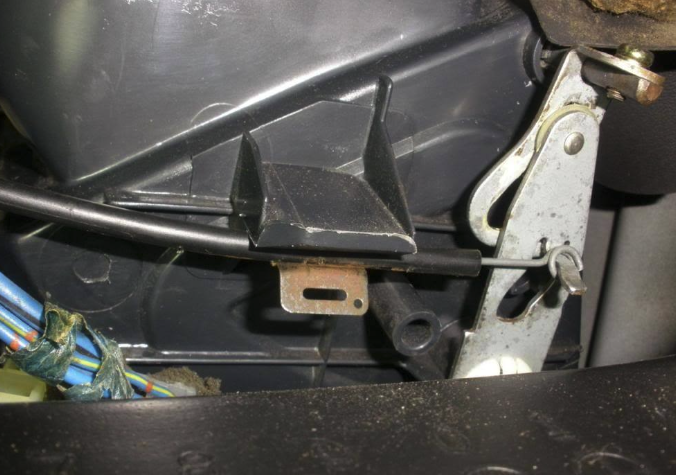
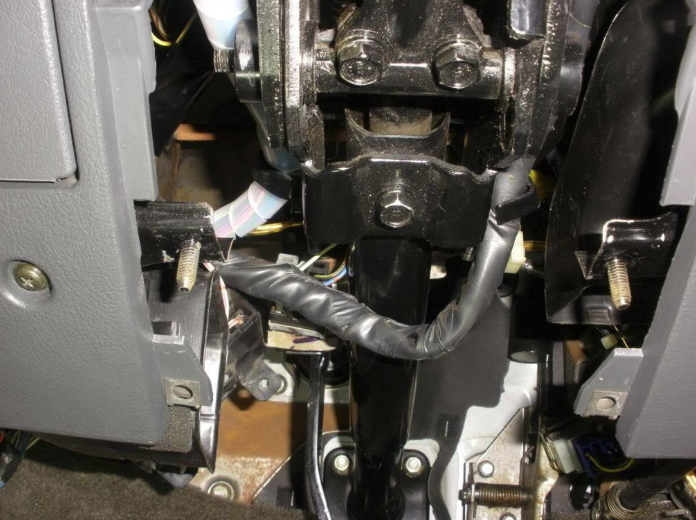
This opens up the dash so the steering shaft can slide by.
This also gives you access to the brake switch.
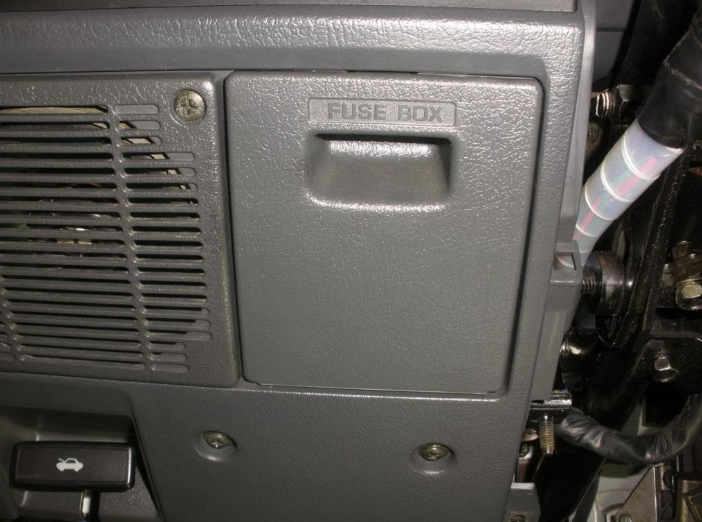
- Remove the two screws for the fuse block.
- Then lift the fuse block to release the bottom clip.
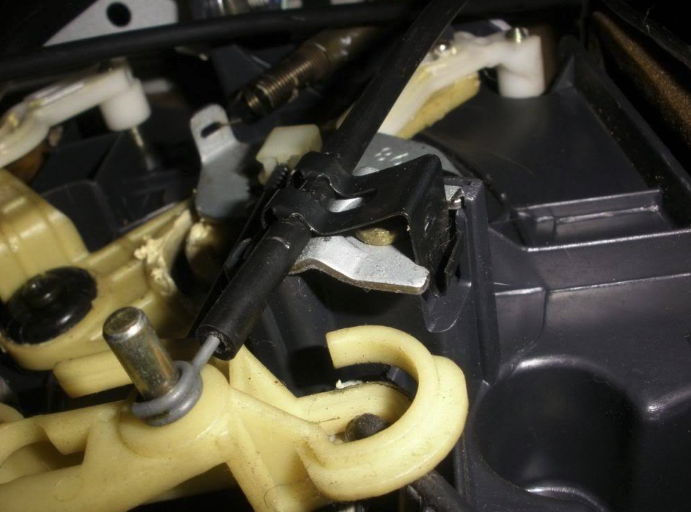
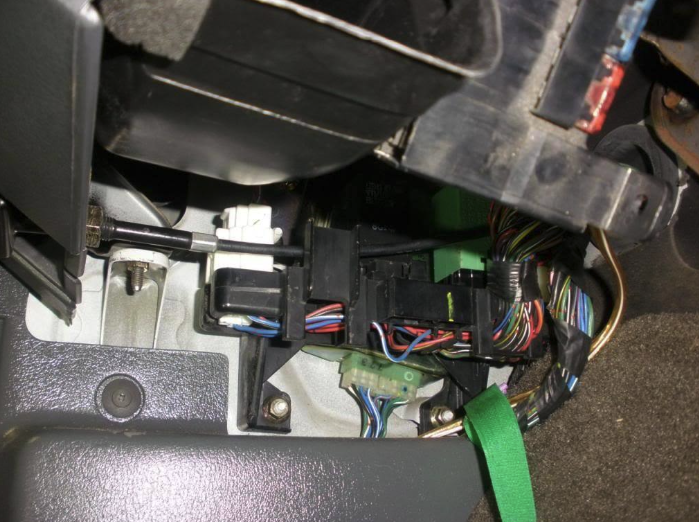
- Release the bi-level selector and air selector cable.
- These are held on by clips on the left side of the heater core /vent box between the emergency brake handle and the heater core box.
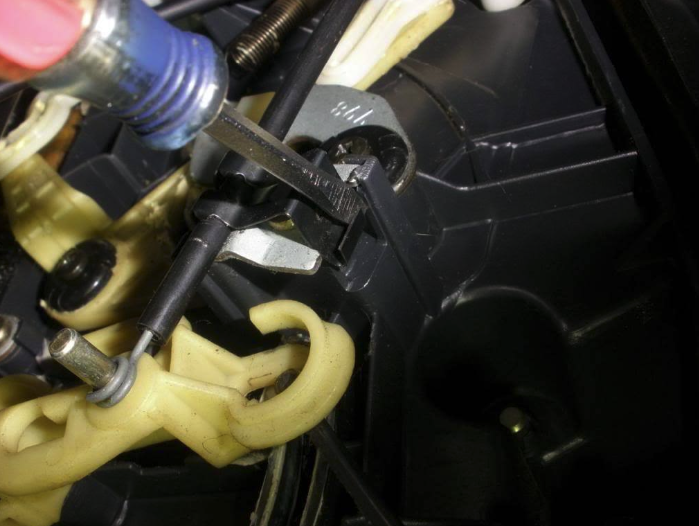
- This clip is removed by pushing the left most part toward the firewall.
This clip is released by “prying” the clip out using the small slot. Again, push toward the firewall. After they are released, slide the wire off the pin.
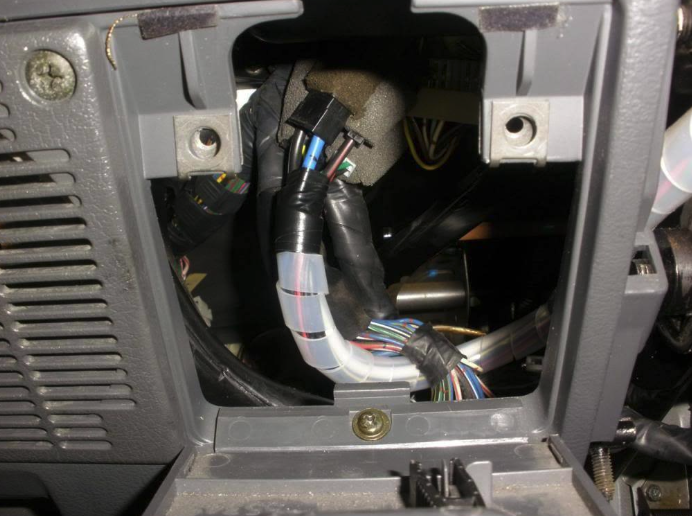
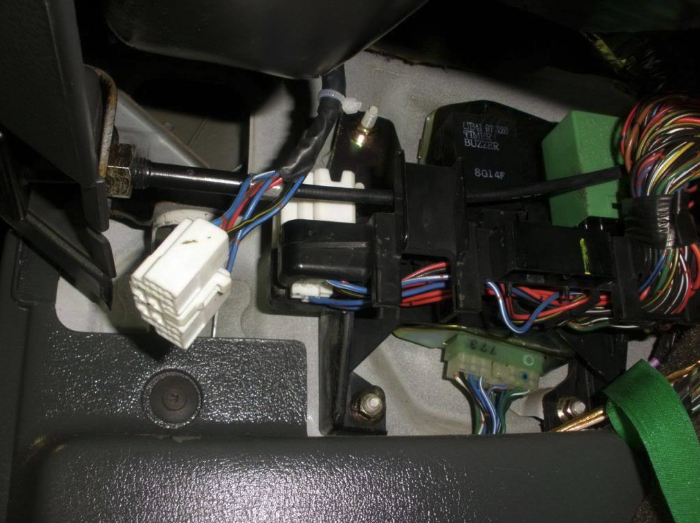
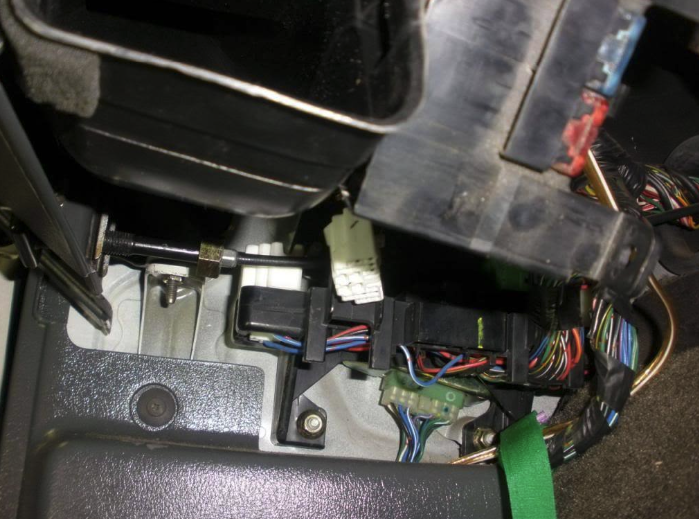
- Disconnect the main dash wiring harness. Notice the hood release cable rests on that plastic holder, be sure to put it back when reinstalling the cable. You can see my new cruise control brain behind the harness connection block.
- Remove two Philips screws on the fuse block. It is not necessary to remove the fuse door but make sure it’s shut to avoid breaking the hinge.
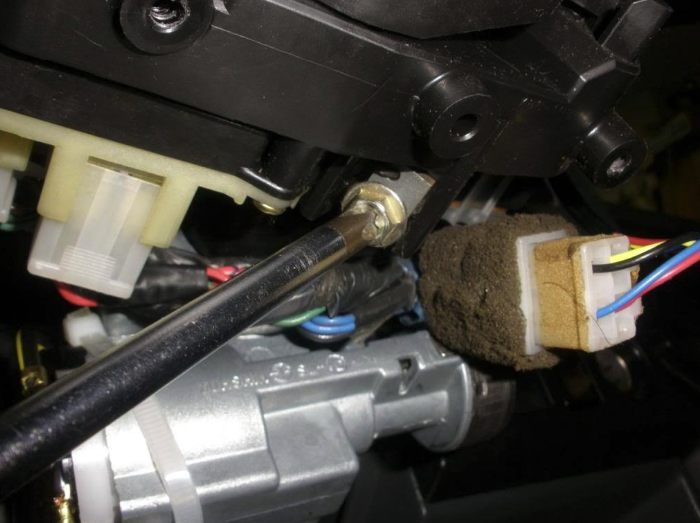
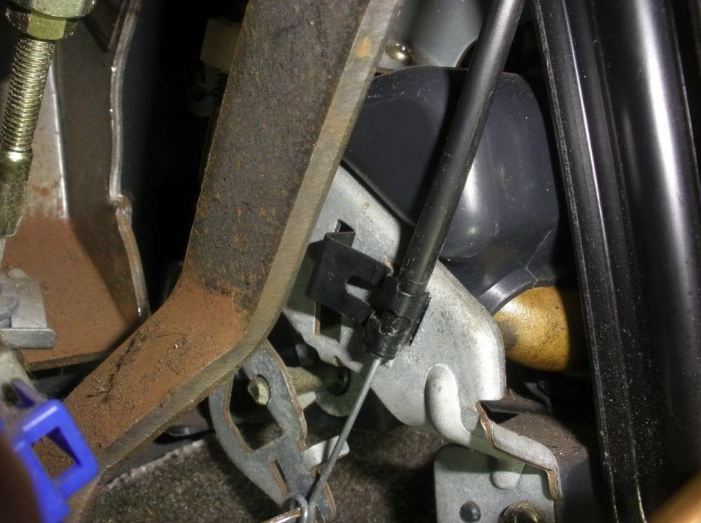
- Unscrew the 18mm (15mm?) bolt on the hood release handle.
- Pull gently toward you and push down through the slot to release the release handle. Here it on the upper left of the picture. I pushed the nut to the right. Pull the hood release toward you and drop it down through the slot in the dash.
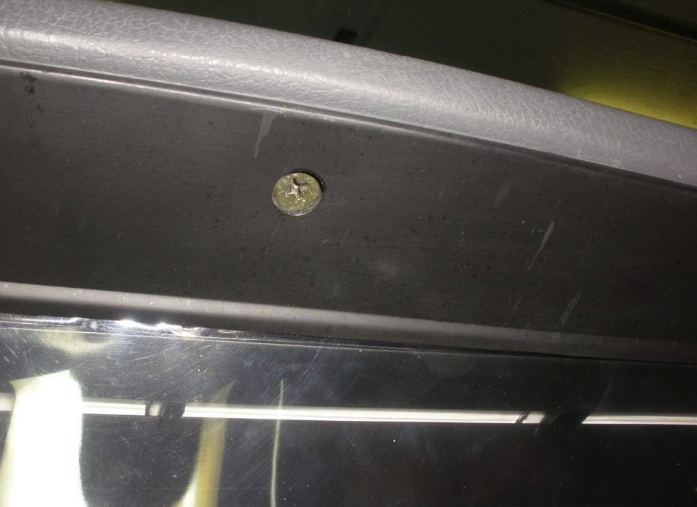
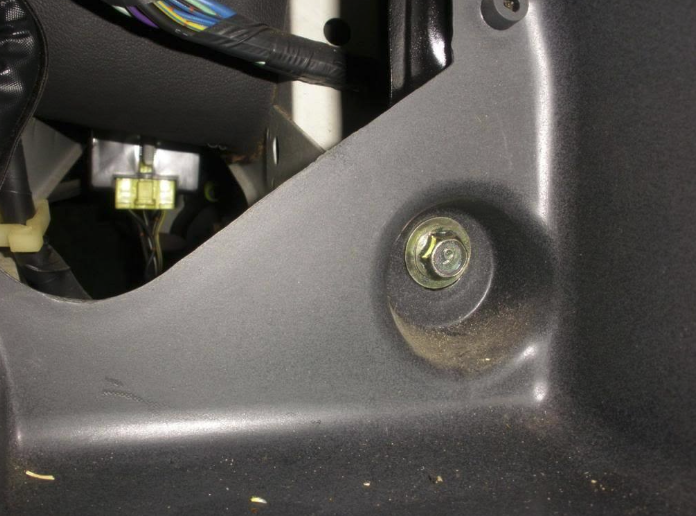
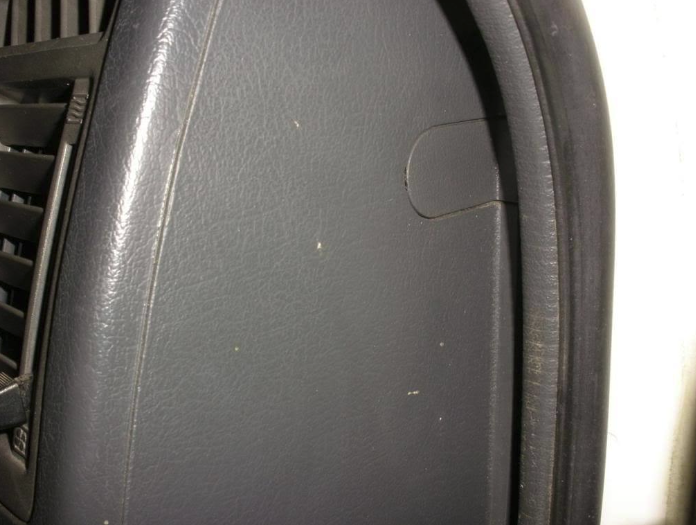
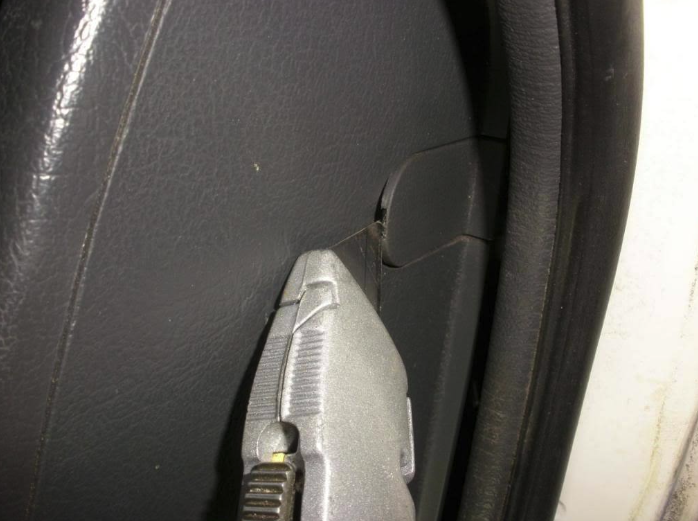
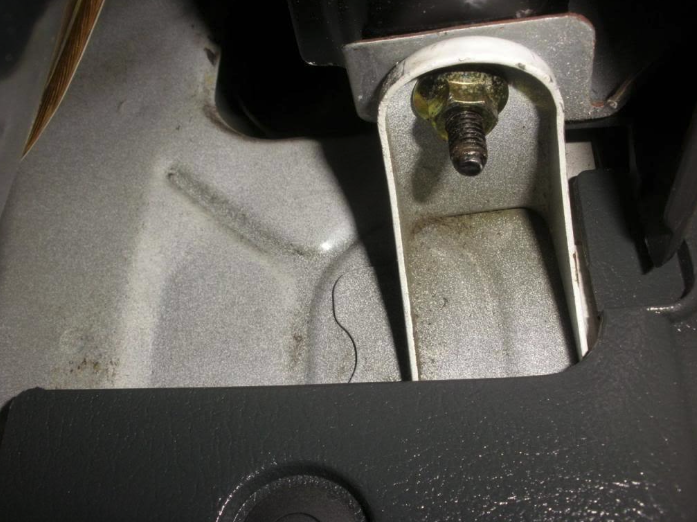
- Remove the two 10 mm bolts, one on each side (end) of the dash.
- The driver or passenger door must be opened first.
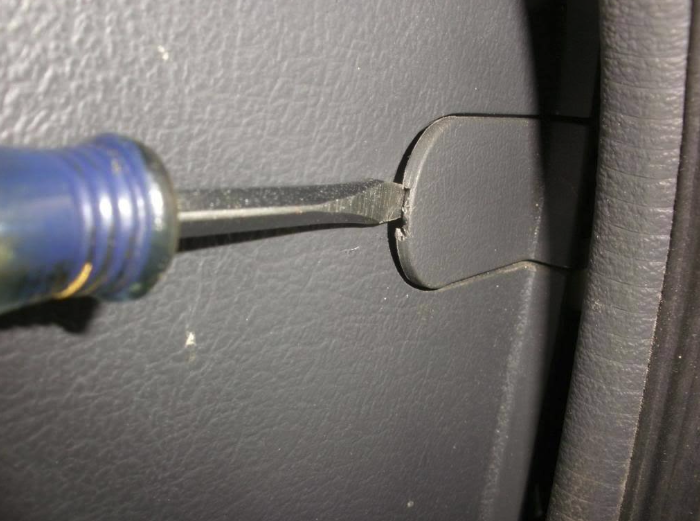
- Pry the overs off to expose the bolt.
- I used a sharp knife to eliminate the possibility of scratching the cover or dash. Then a small screwdriver to avoid breaking the knife blade.
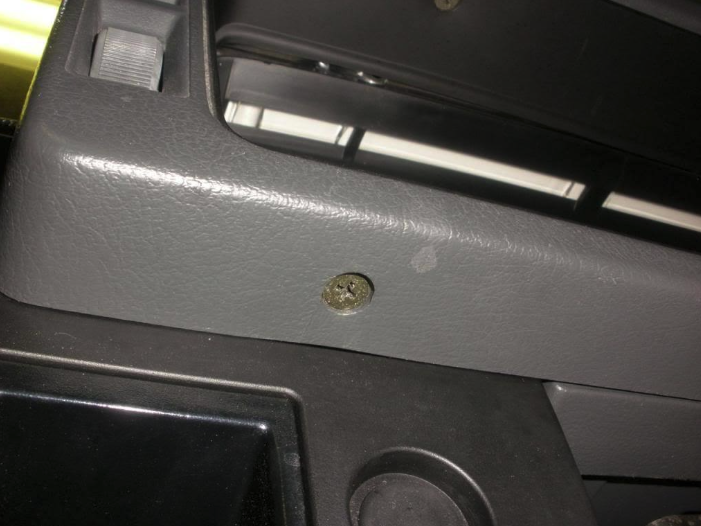
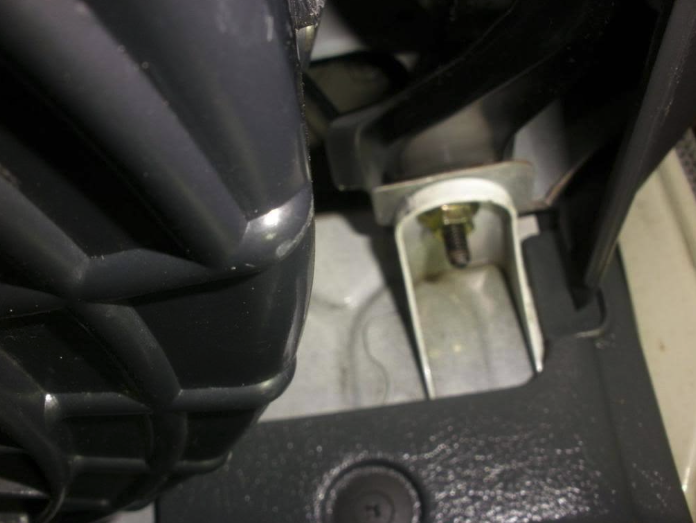
- Remove the 10mm nuts on each end of the underside of the dash.
- These can be removed without removing the kick panels but be careful not to mess up the bolts.
- A 10mm racketing open end wrench can be used.
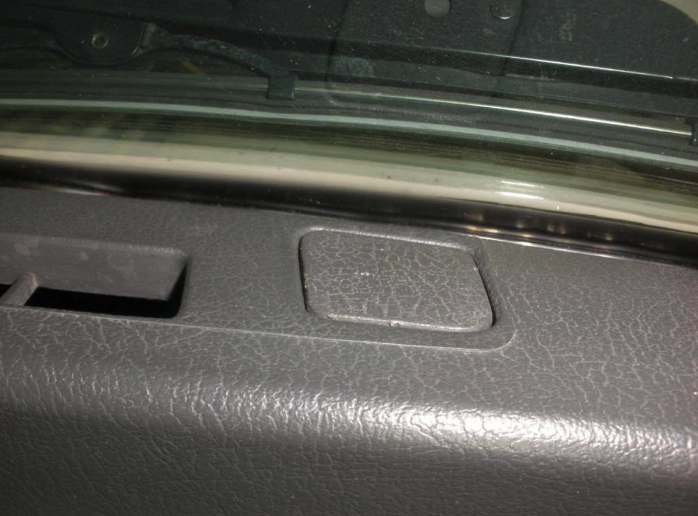
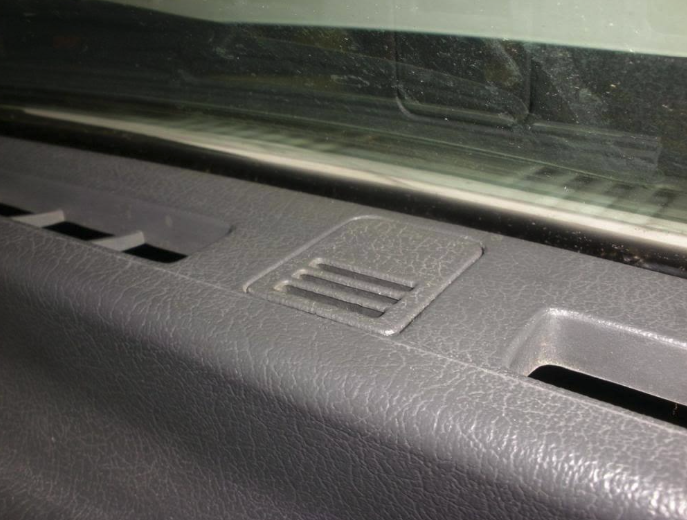
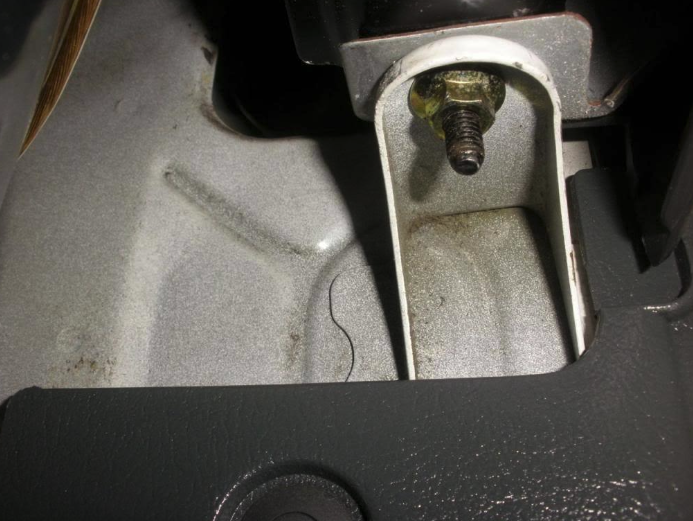
- Remove the three 10 mm bolts across the top of the dash.
- Remove the covers by prying the edge up with a utility knife to avoid damaging the covers or dash.
- Use a small screwdriver to finish removing them.
- Be careful not to hit the windshield.
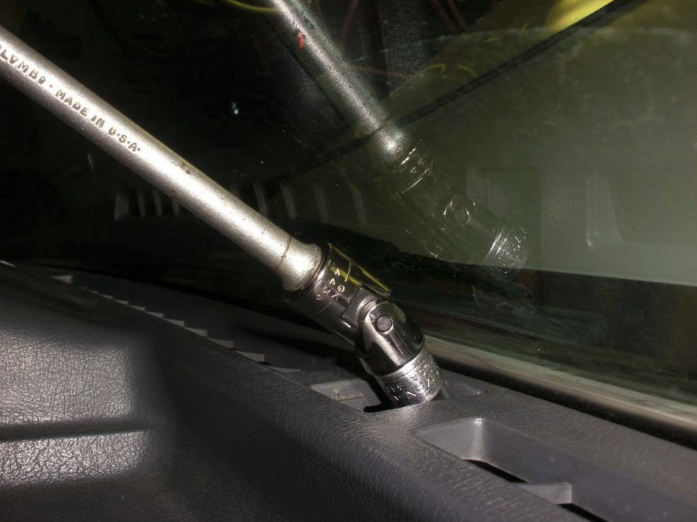
A universal joint can help.
I used the same technique to get the caps off as the side bolts.
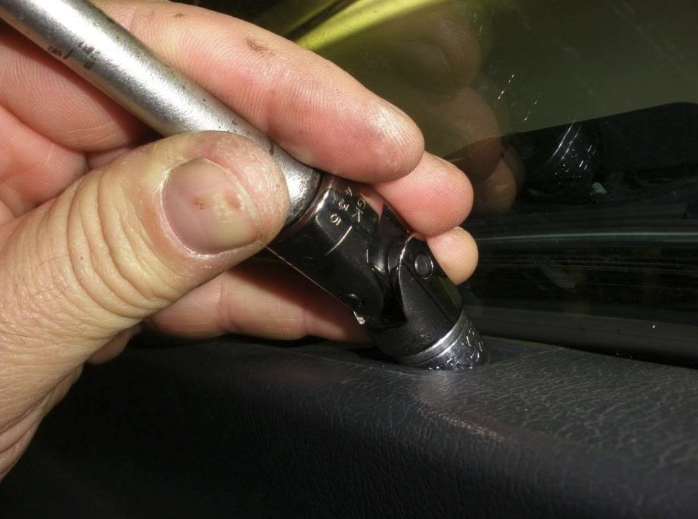
I used my hand to hold the universal joint in place and keep it from banging the windshield.
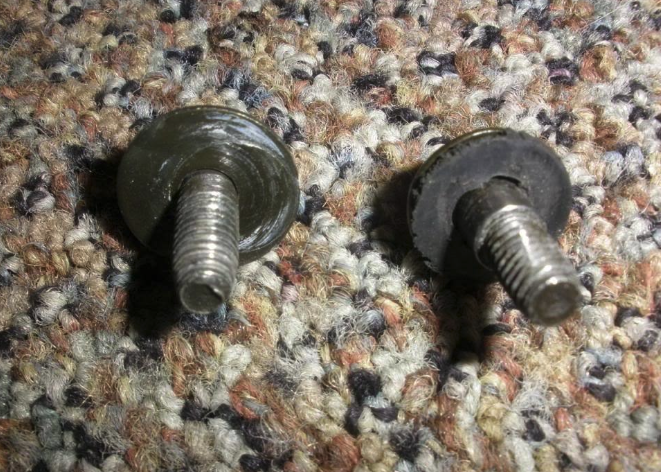
These three top bolts are “different” than the others. They have a rubber washer.
- That should do it.
- When pulling the dash out I’ve found it easiest to pull it from the passenger side.
- Lift up slightly and tilt the dash from the top toward you to disengage the two studs on the lower ends of the dash.
- If you didn’t pull the steering wheel and multi-switch, you’ll need to lift it over those and tip the top of the dash a bit more toward you.
- Be careful not to pull too hard and break something by catching it on the dash on the way out of the truck.
- When installing, obviously it’s in the reverse order but make sure your fuse block is laying on top of the air tube and doesn’t get pushed back when you install the dash.
- Also be sure the two air handling cables are pointing straight toward the firewall when you reinstall the dash so they can be re-attached.
- It took me under two hours to remove the dash, do my work, and reinstall.
Leave a Reply